The Near Infrared Adventure

Some shots with the IR converted Nikon D800. The conversion was done by lifepixel.com and the D800 came in right within the Corona lockdown time window – right in time to do some tests and to find out how to handle the NIR Raw files.
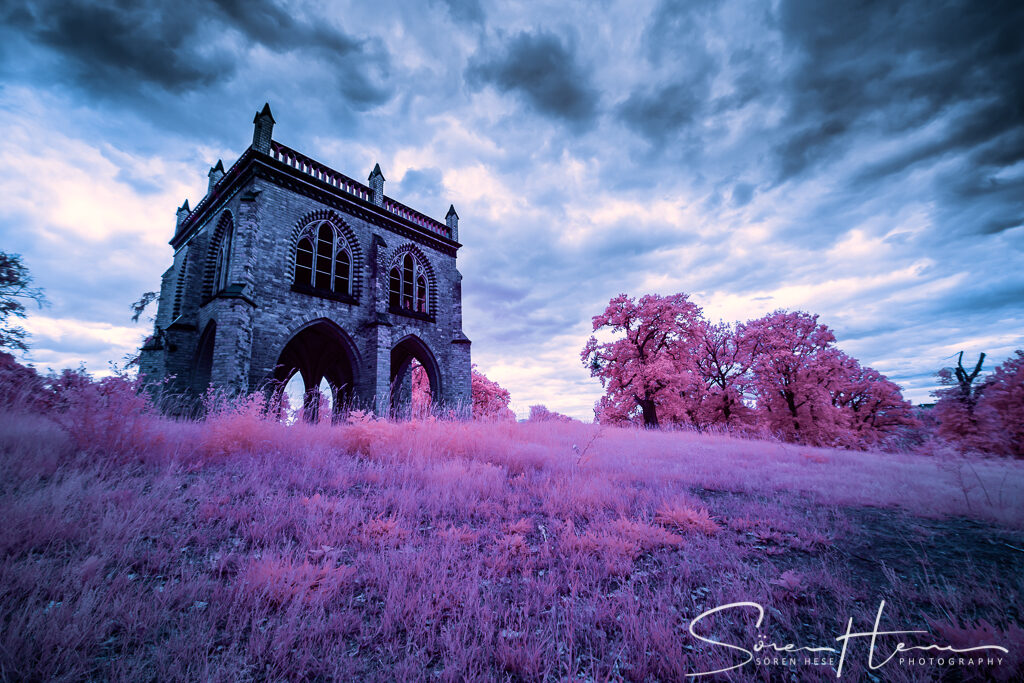
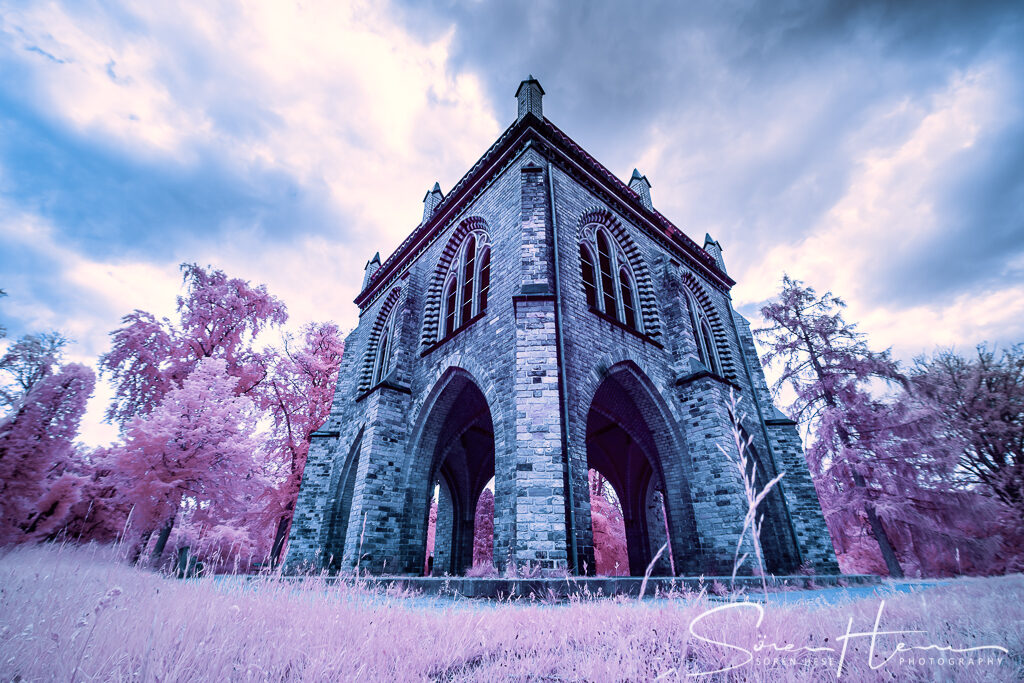
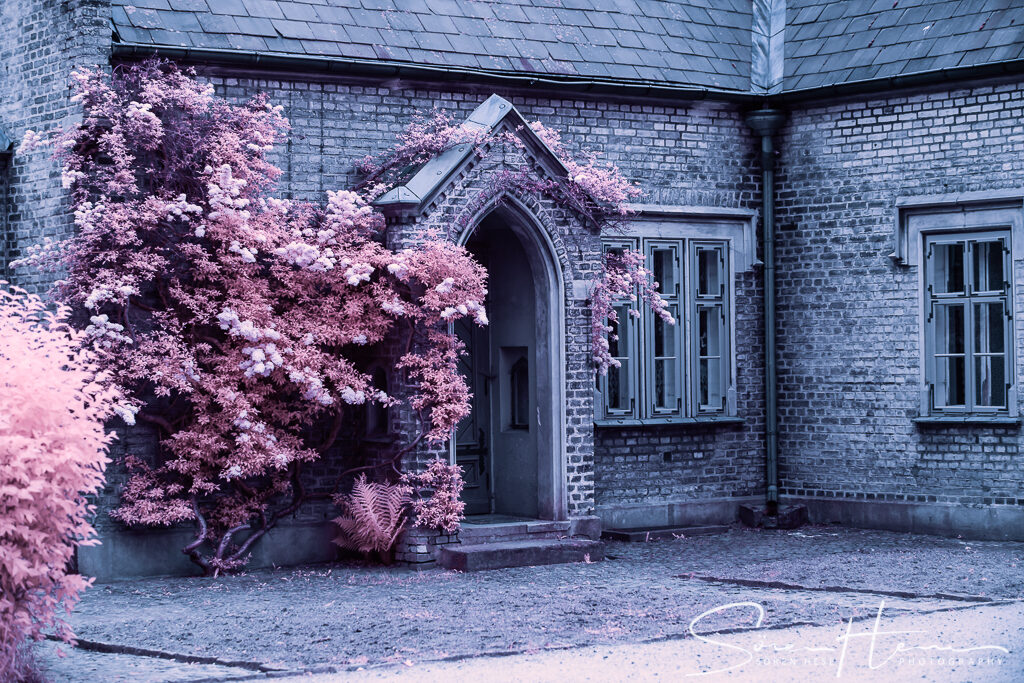
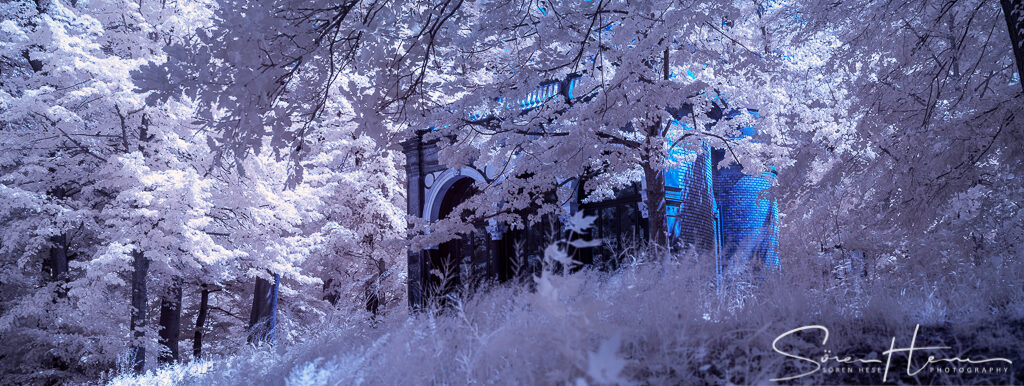
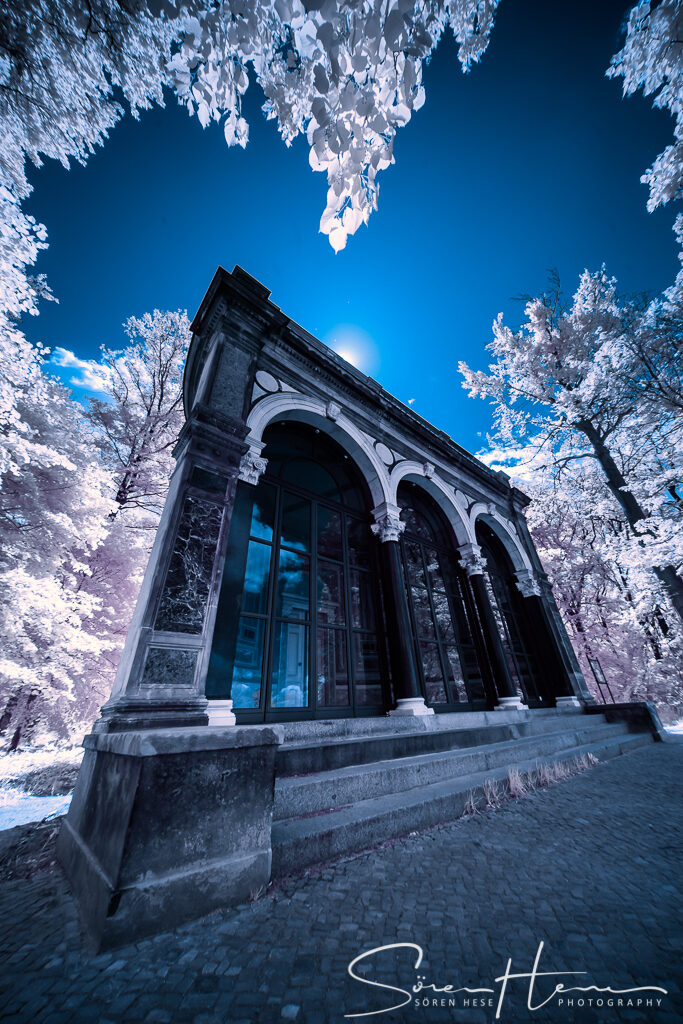
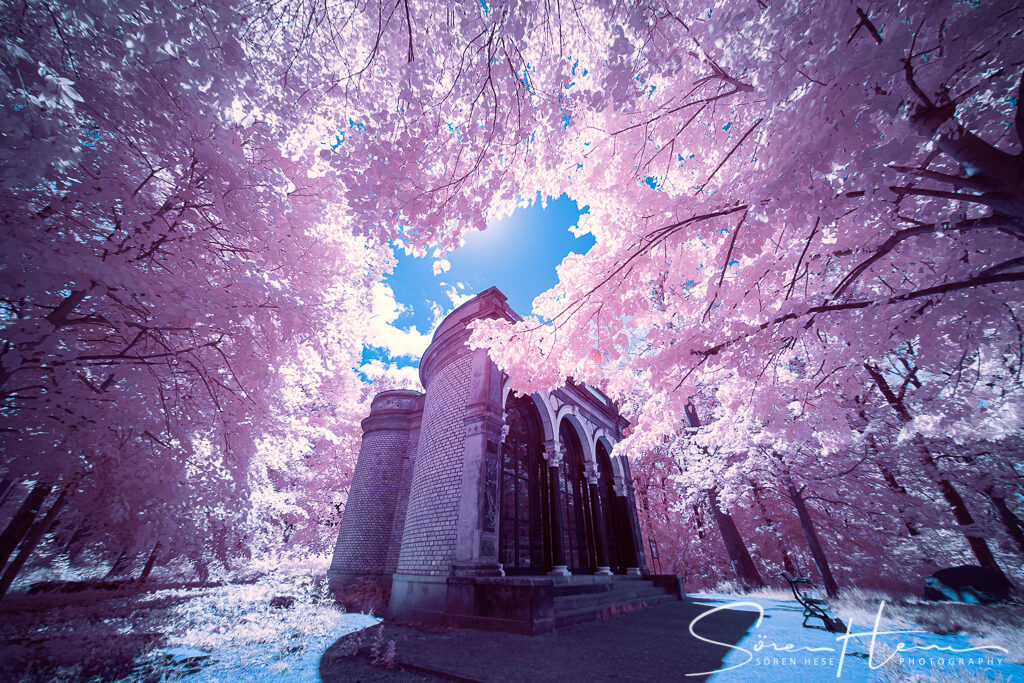
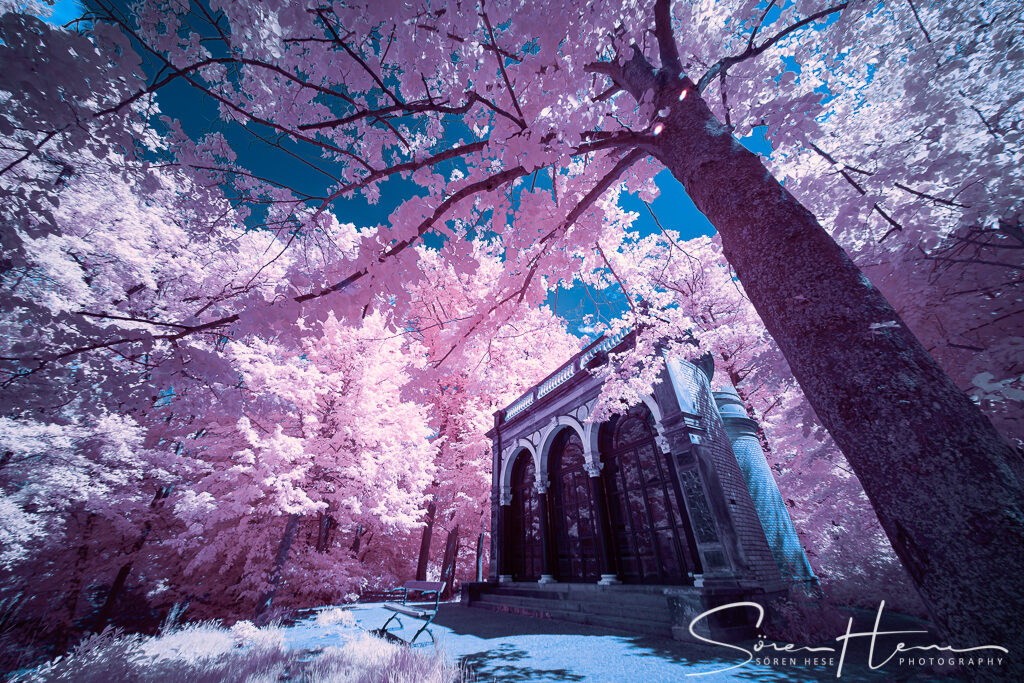
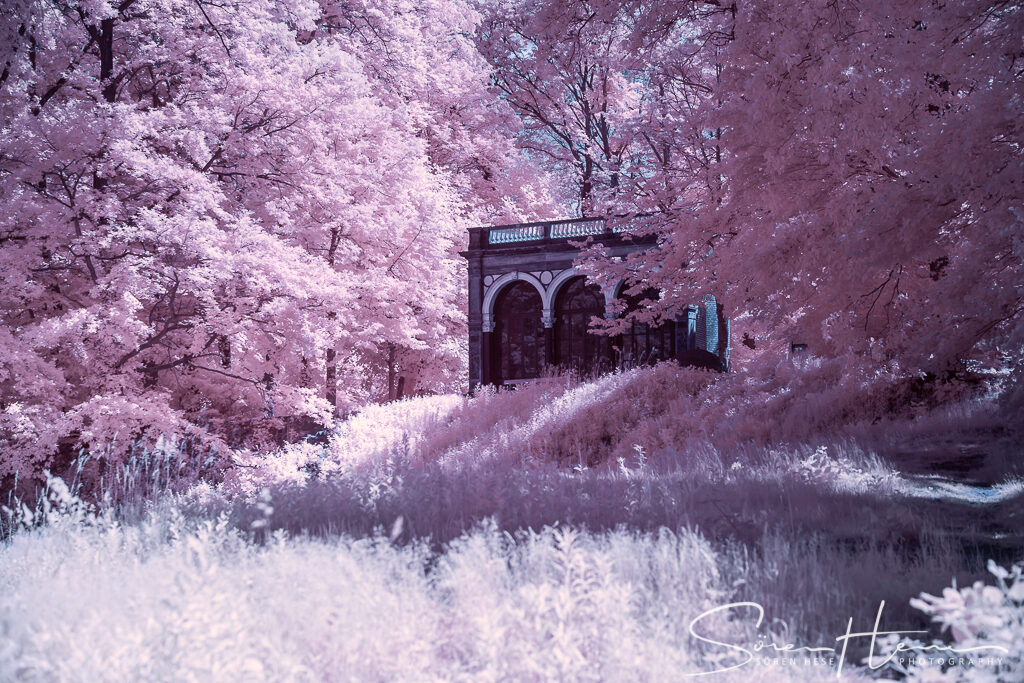
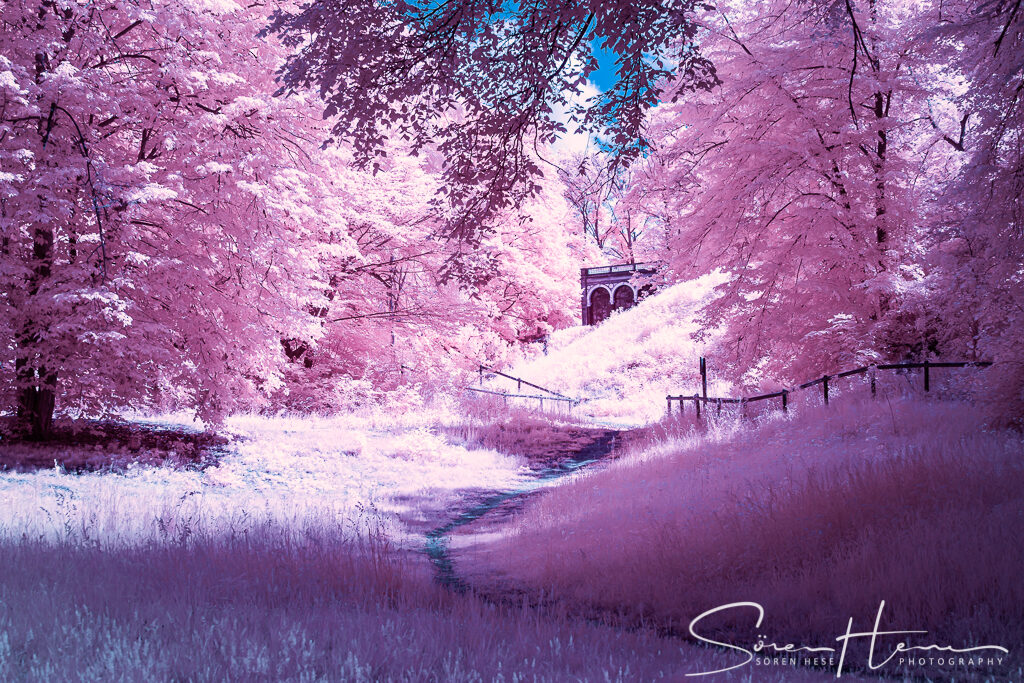
In short: a different world!
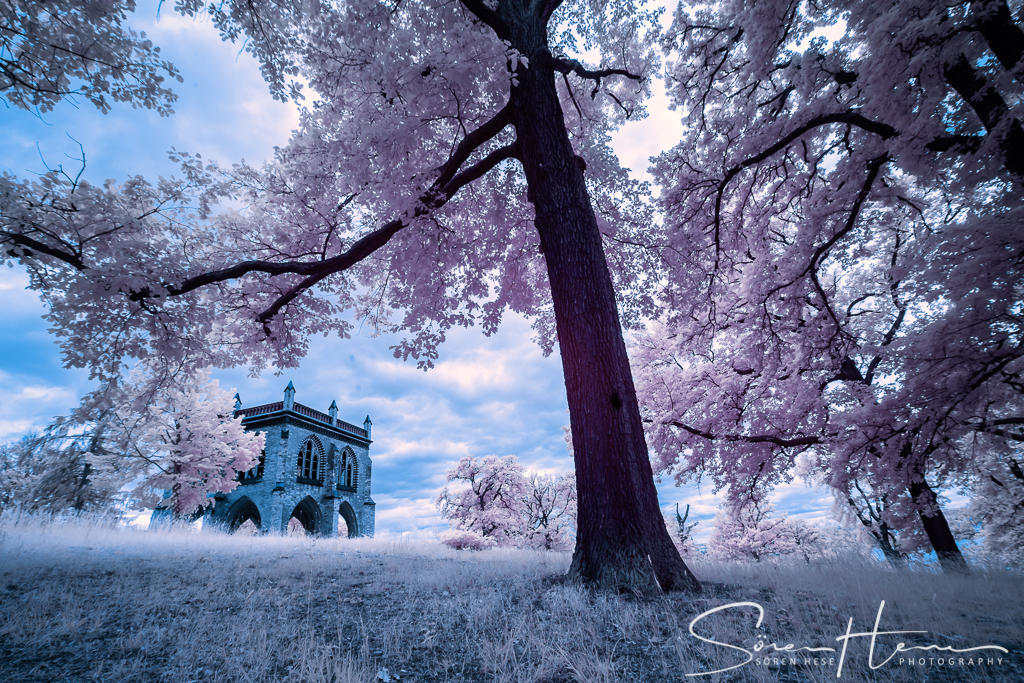
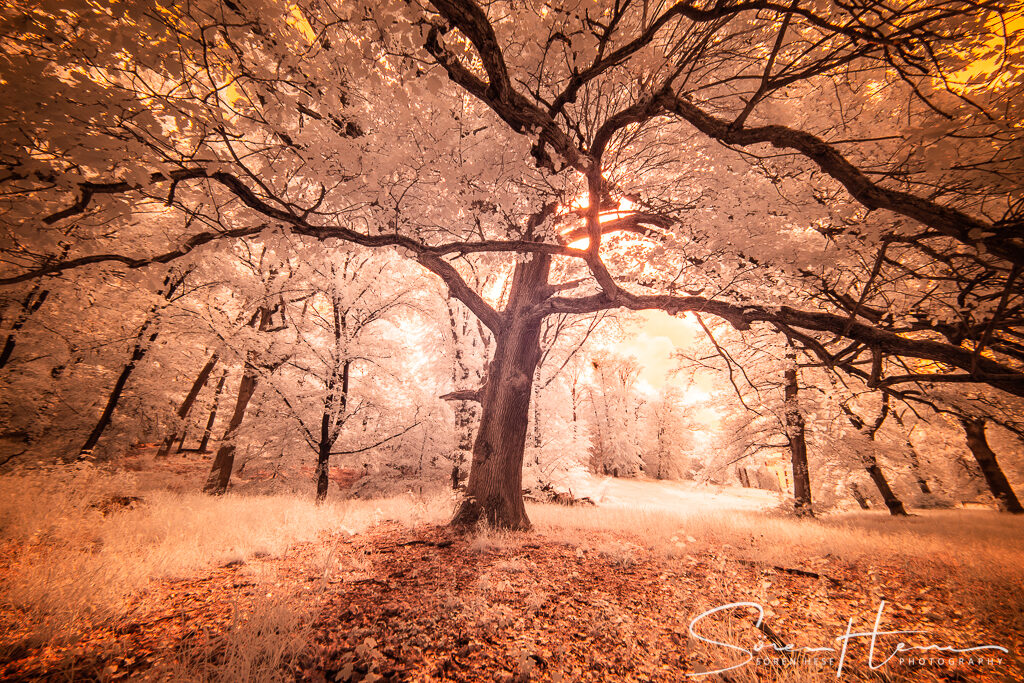
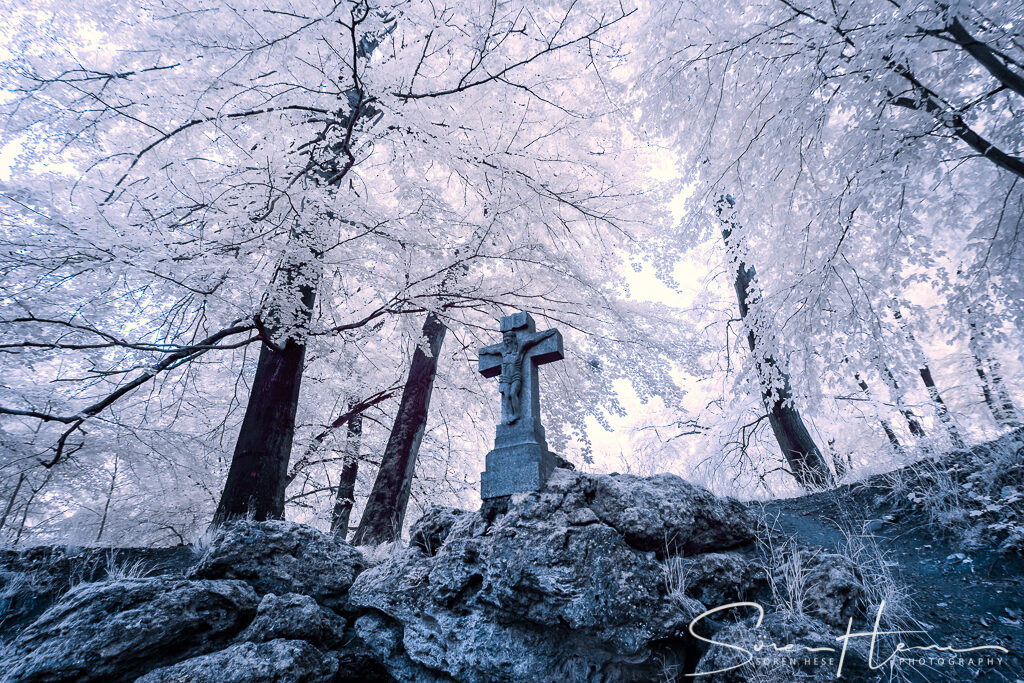
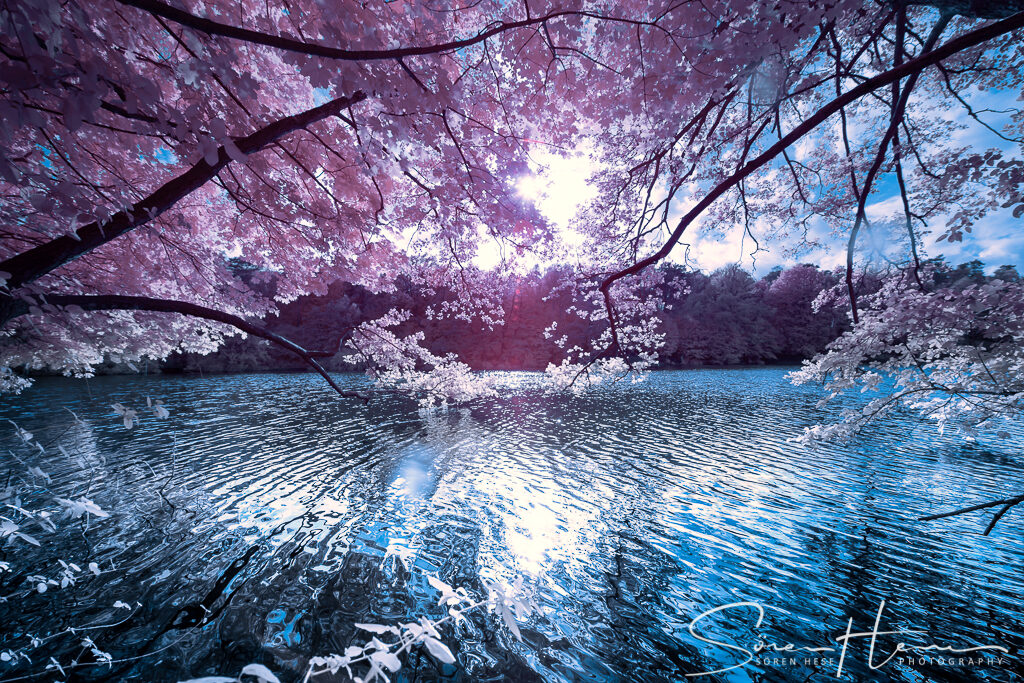
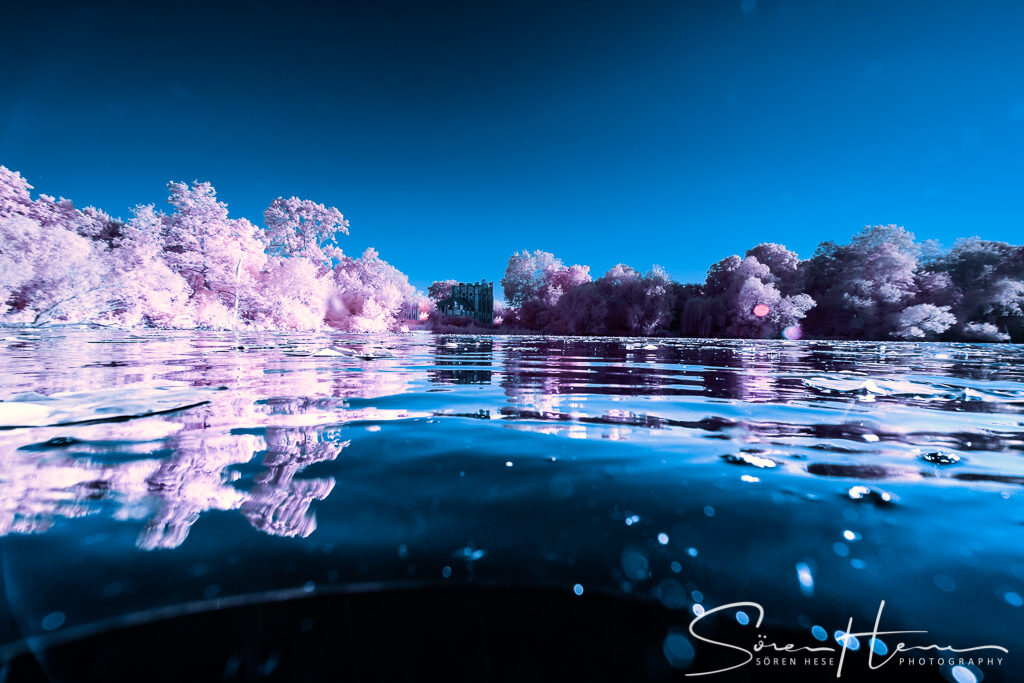
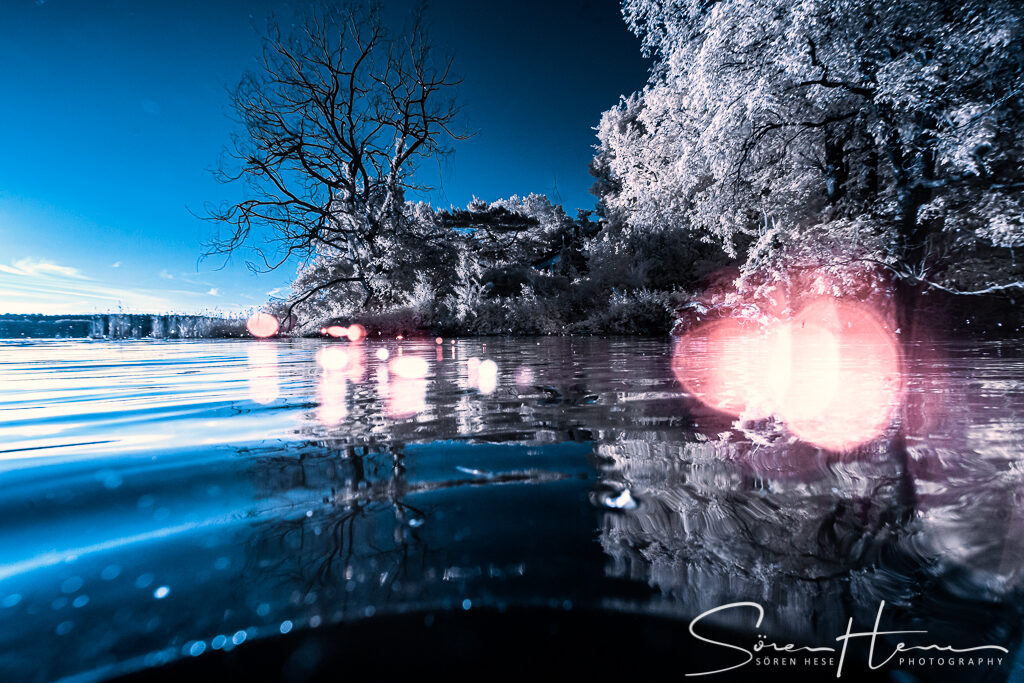
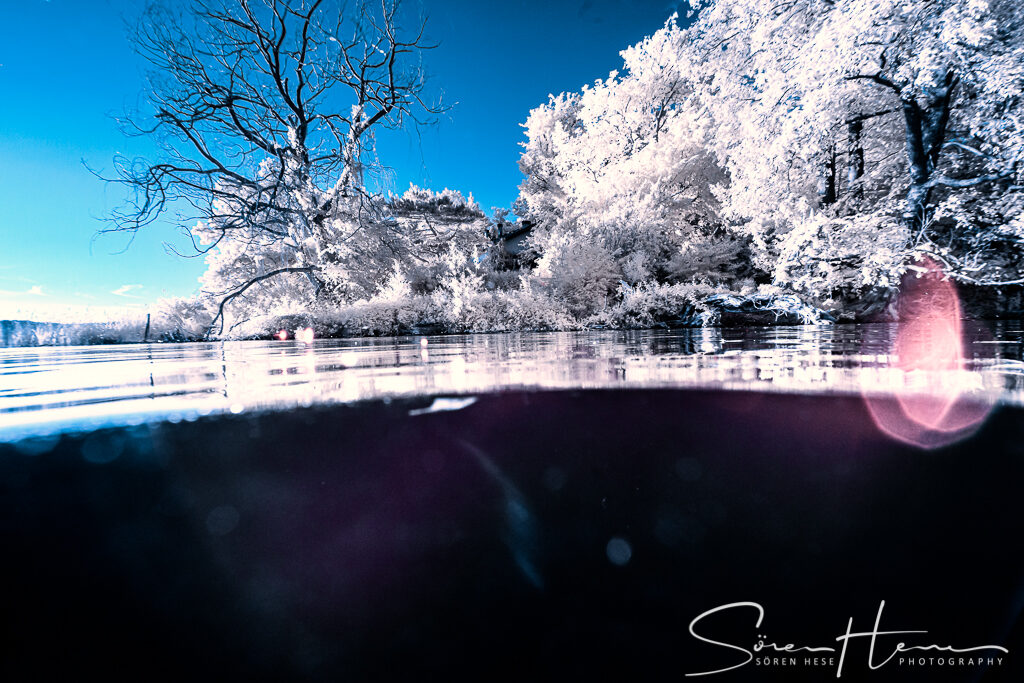
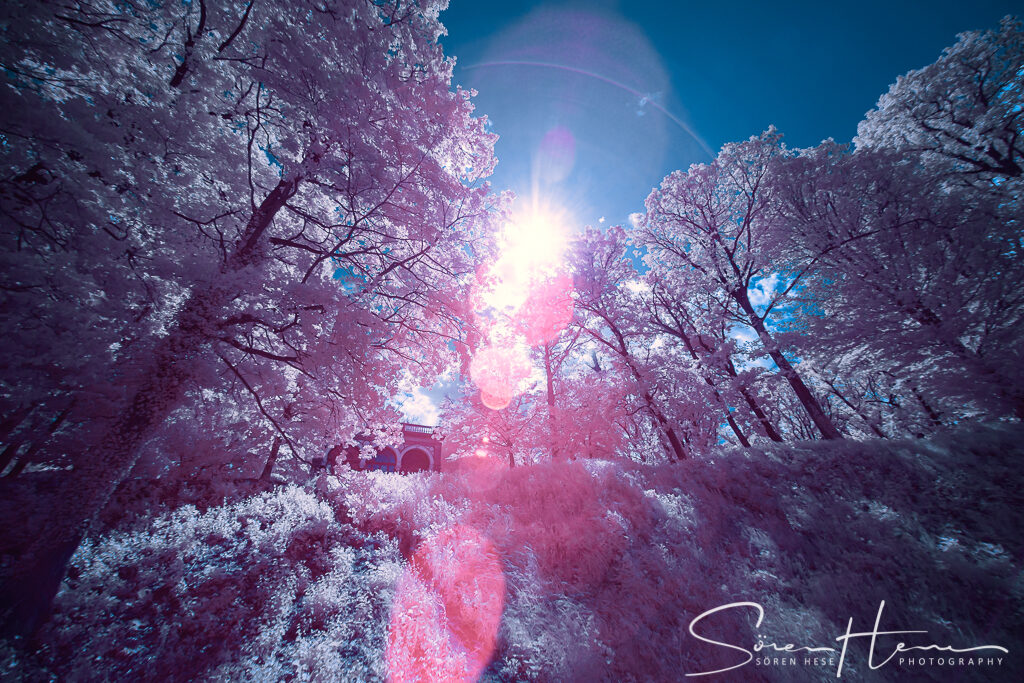
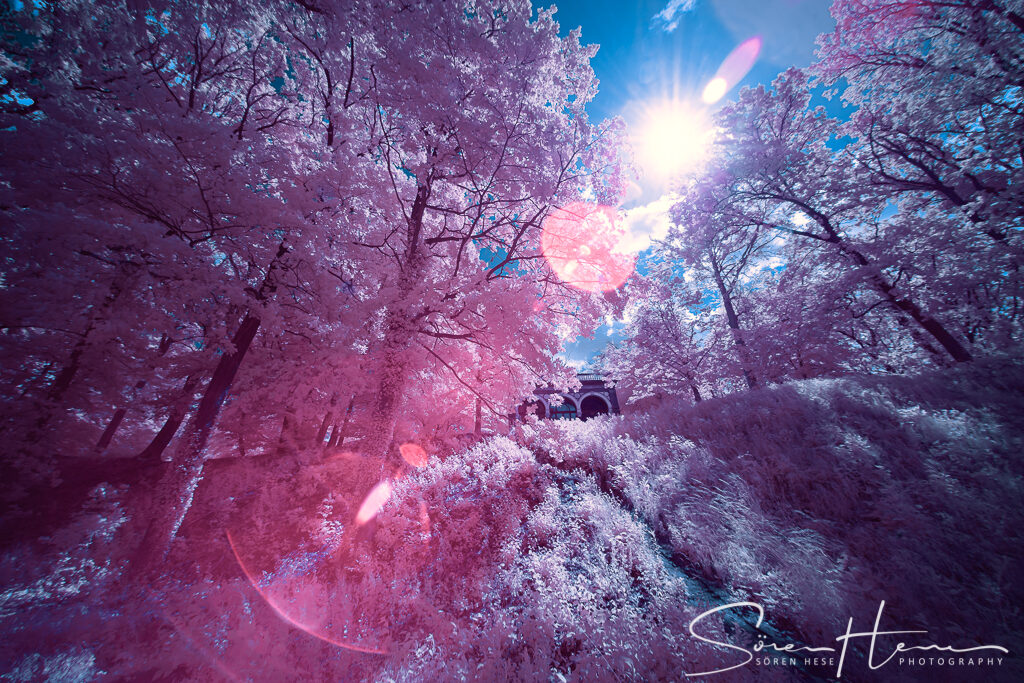
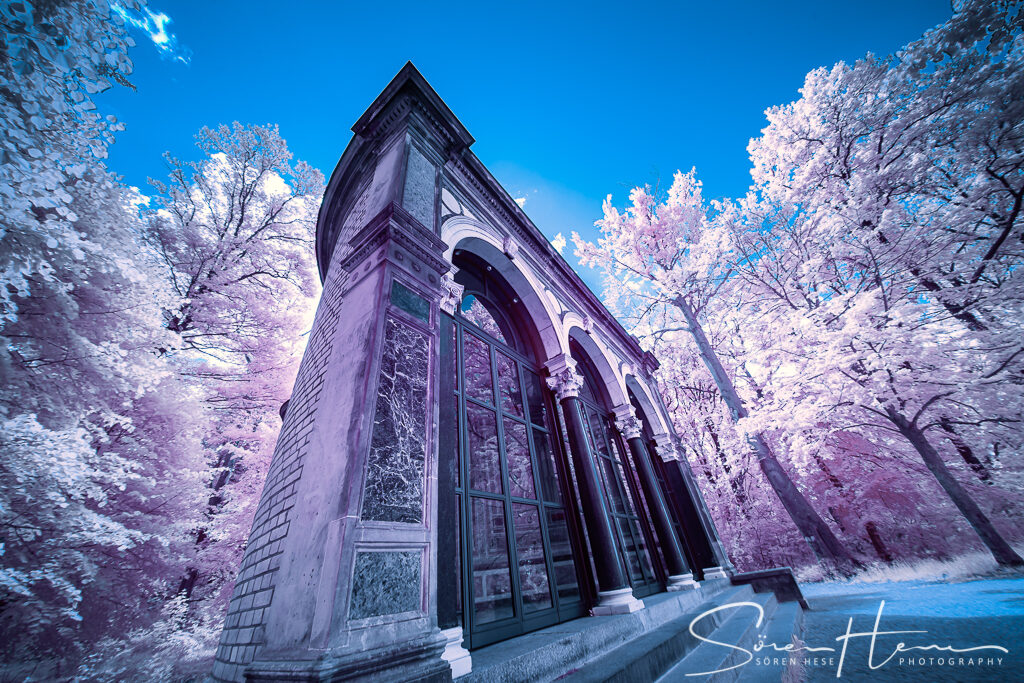
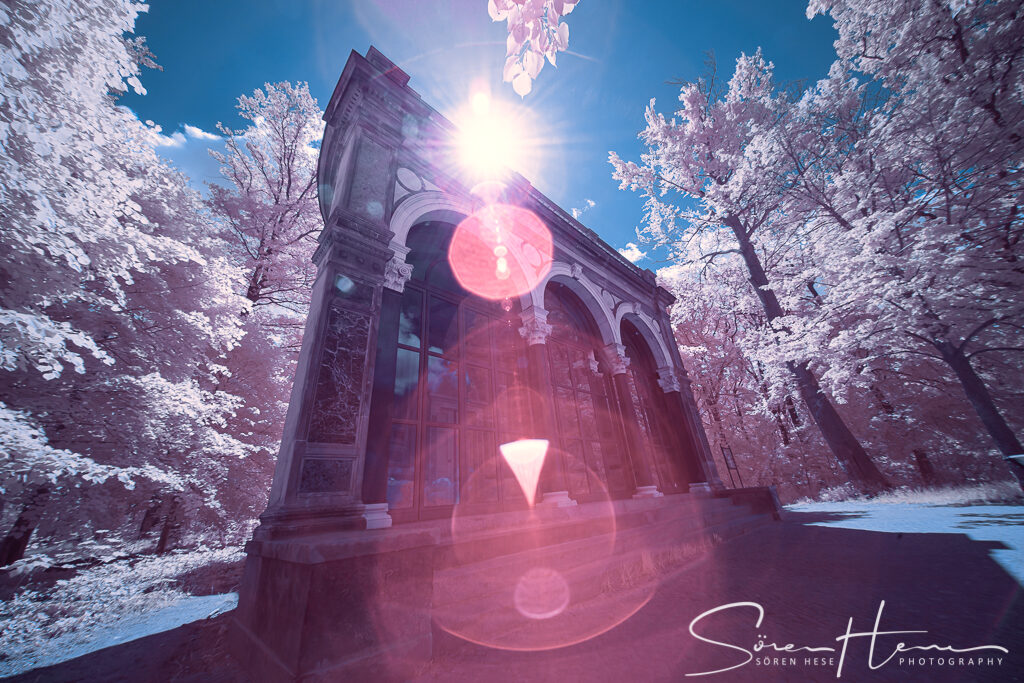
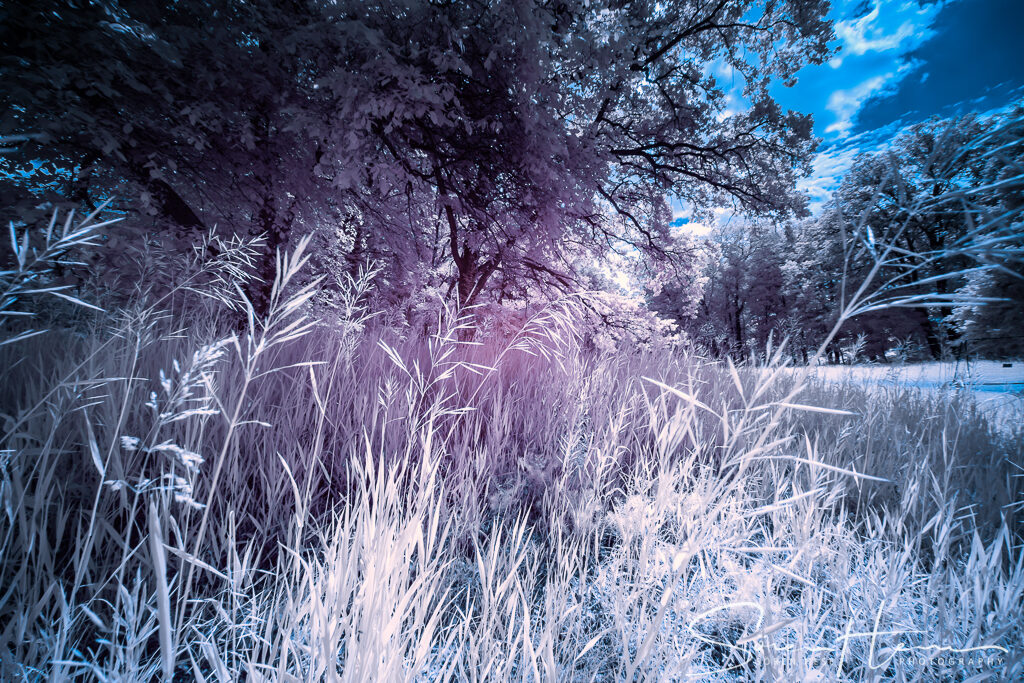
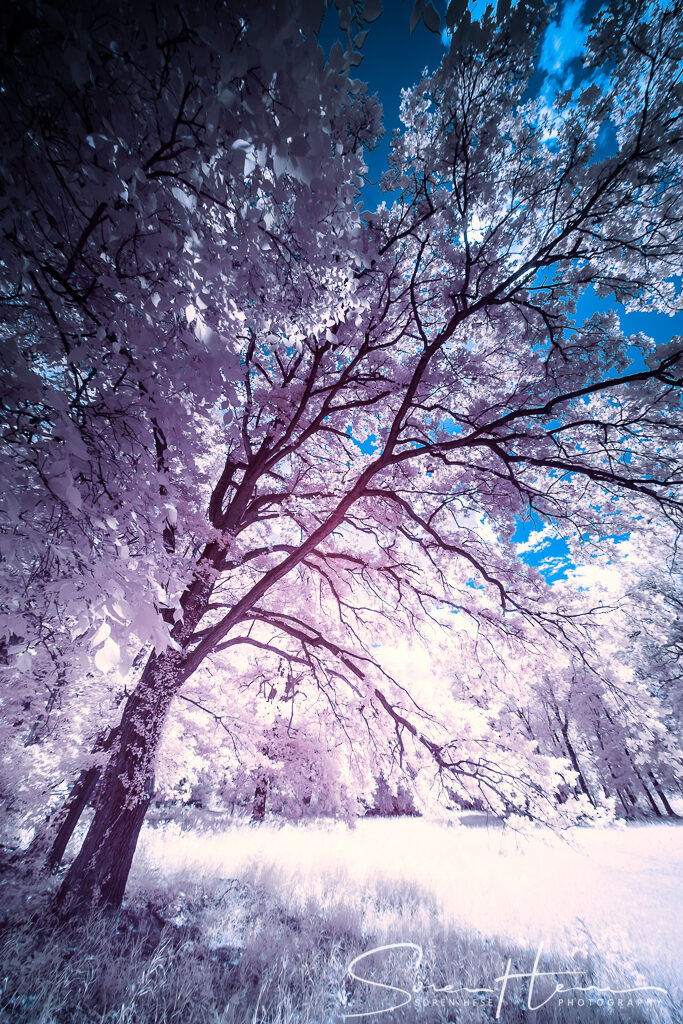
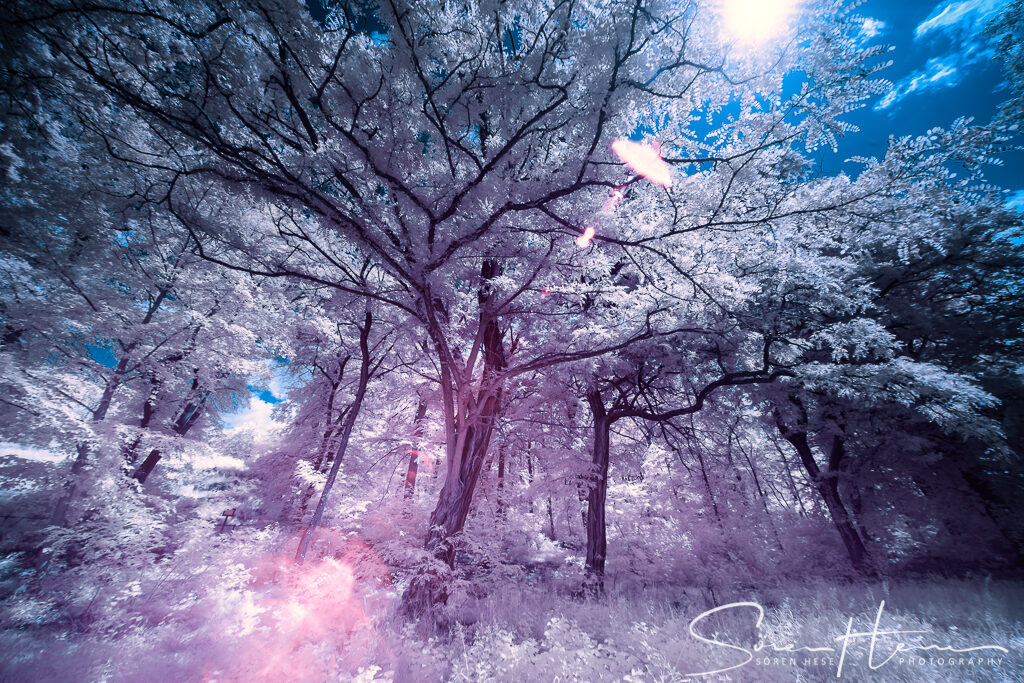
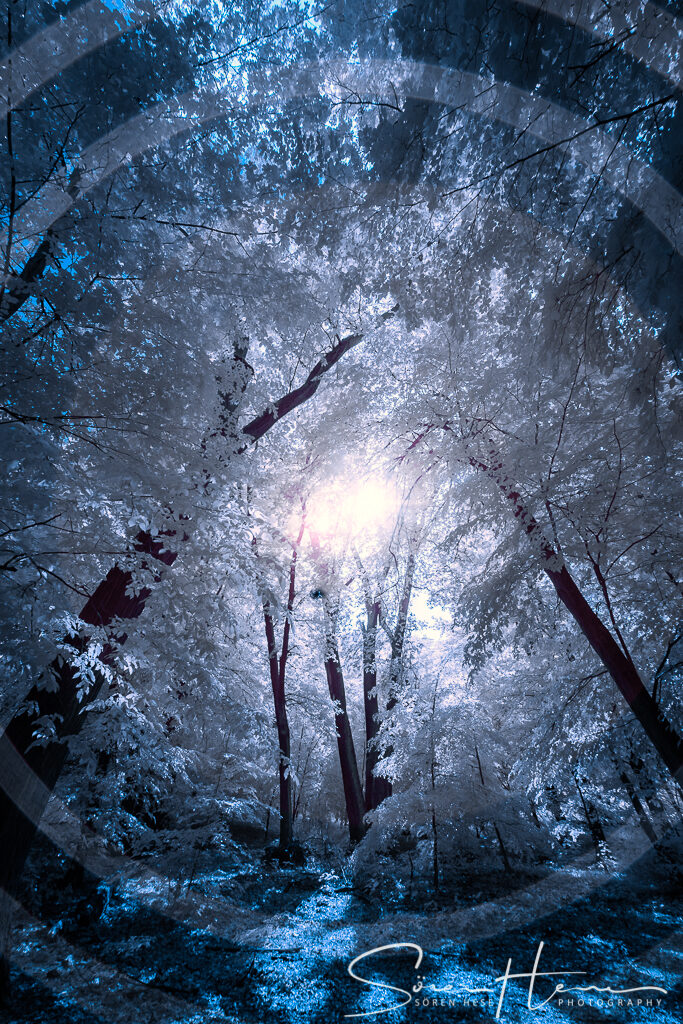
Thinking in Near Infrared is totally switching away from the usual color perception. Its more thinking in vegetation vers no-vegetation contrast situations. The image in NIR is very much dominated by contrast between vegetation objects and everything else. So looking at surfaces you have to change the perspective fully to create successful NIR images. Water surfaces show up with extreme contrast and grey level range – mainly because NIR light is absorbed in water and water very quickly appears totally black in an NIR image – whereas vegetation comes out extremely bright. Vegetation reflects a lot of NIR – in the range of 50-80% is reflected by vegetation. The reason is within the cell structure of vegetation – there are these intra cellular spaces for gas exchange of the plants and these spaces strongly reflect NIR light. If the vegetation slowly fades the cell structure compacts and the spaces vanish quickly – and so does the NIR reflectance. NIR has nothing to do with thermal infrared – this is misunderstood often. The thermal range of the IR starts at 3000 nm and not at 700 nm! The NIR converted DSLRs use the Near Infrared region that starts at 740 nm and goes to approx. to a max of 1400 nm.
Since the contrast between vegetation and water f.e. can be extreme with direct sunlight the RAWs from the NIR converted D800 have an extreme grey value range – you constantly have to check for histogram clipping, especially at the right histogram edge – the whites. I am running my D800 on 14 Bit NEFs but its easily visible that a camera with less dynamic range would create sub optimal data. The data range very much depends on the NIR filter that you use on your converted camera. I went for what lifepixel.com calls a “super color IR filter”. Thats basically a NIR filter that does not block red light (580 nm filter) and therefore the RGB Bayer pattern of the CMOS sensor manages to create a somewhat more colorful NIR image compared to a 850 nm filter that basically blocks everything shorter than 850 nm. The higher the filter cuts-off the visible light in my opinion also the more dynamic range is needed in some situations to fully cover the full grey scale variability.
NIR shots are best done with lifeview capable cameras. Optimal is a mirror-less design since you can see the NIR image already in the viewfinder – this is perfect for composition and to do better stabilized shootings. I got too much used to my habits shooting the D8xx camera line – so for me its always the D850 or D810 but for NIR it should be a converted Z6 or Z7. However investing in a Z is right now not on my priority list (personal preference but I will likely write on that soon).
I kind of circumnavigated the problem with not having NIR in my view finder by looking at the screen with a Zakuto viewfinder – this converts the D800 into a mirror-less cam kind of … ;-) At least I can see the NIR image directly and focus directly on the sensor – so no sneaking on the focus NIR-offset mark of my lens. Its much more precise – but also slower to focus.
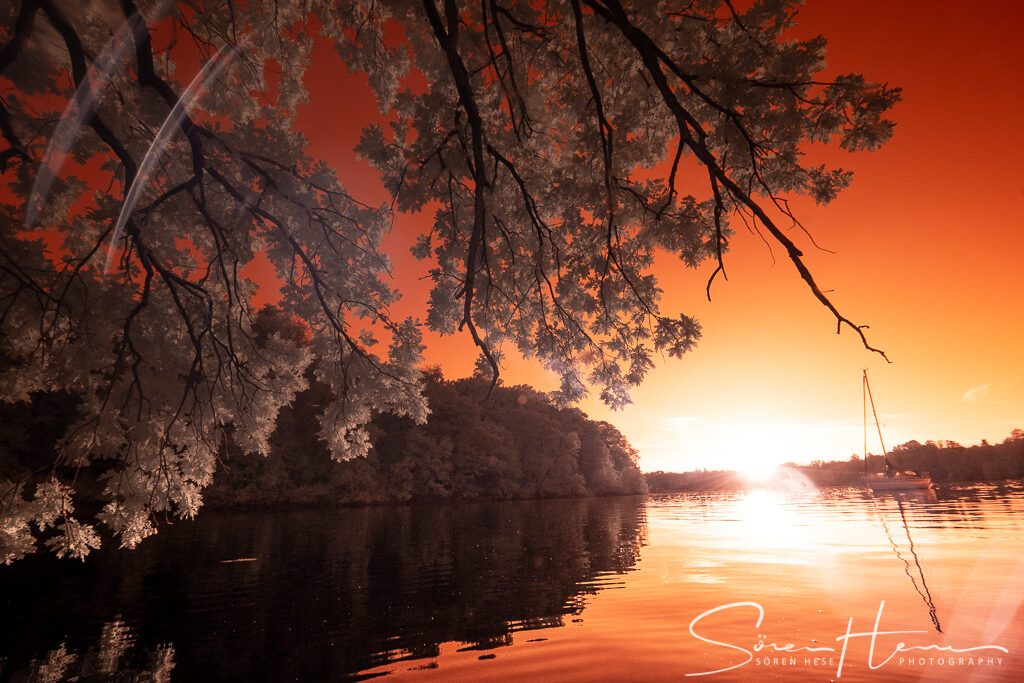
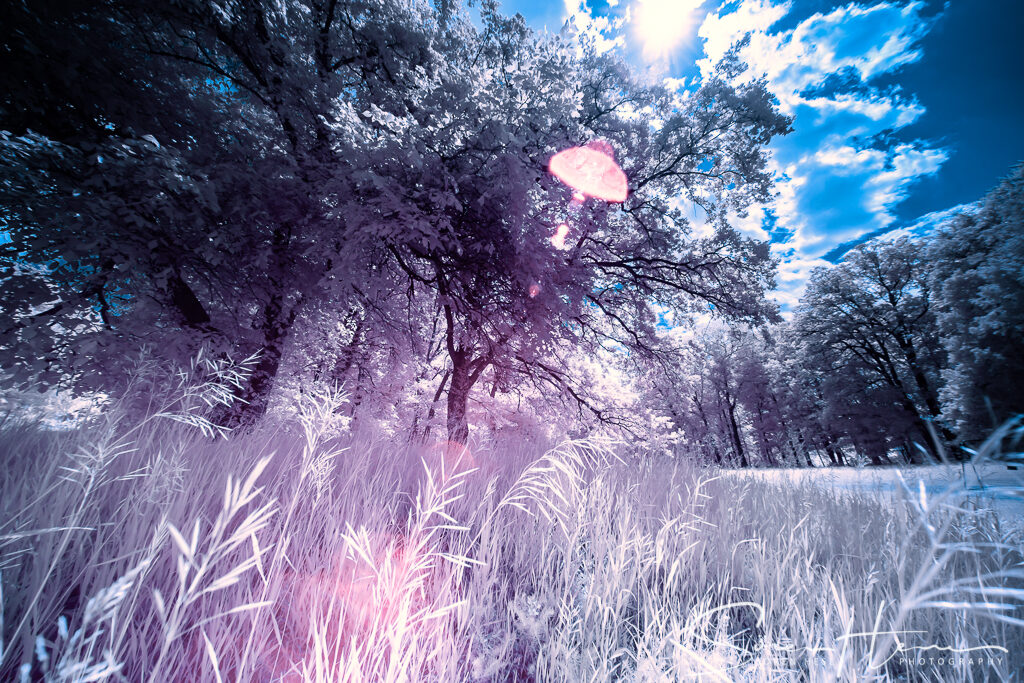
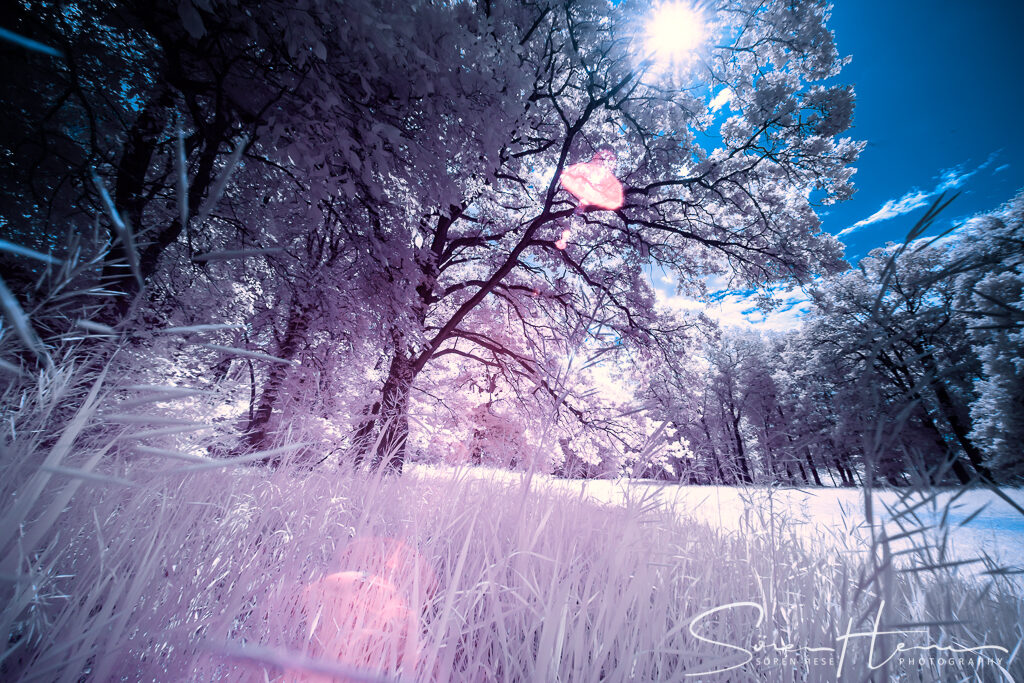
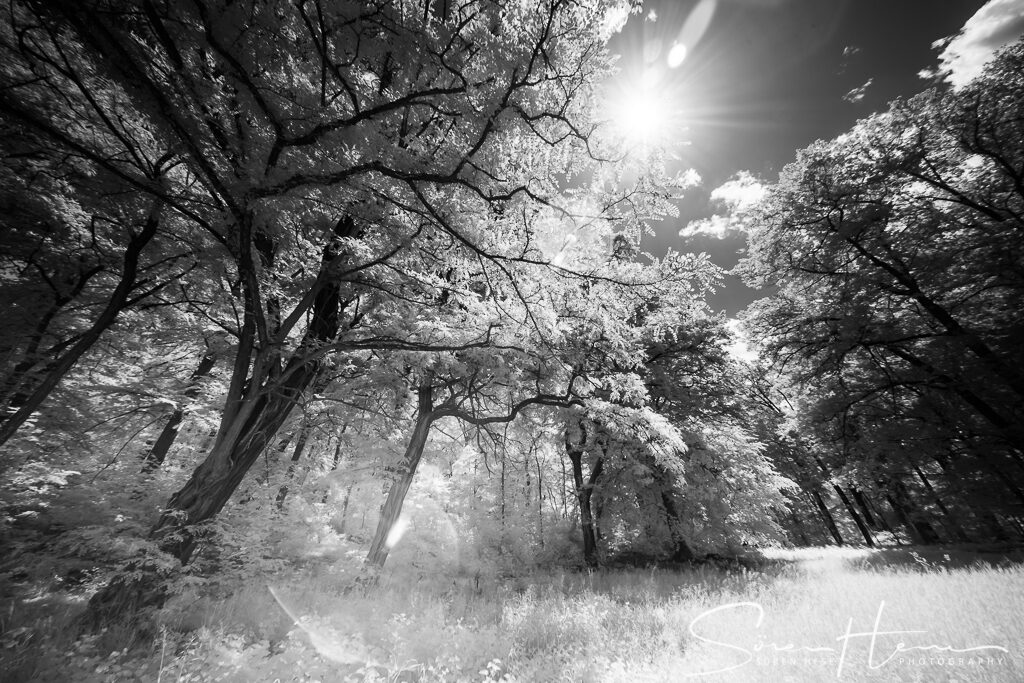
Shooting in NIR you really have to check how your lenses behave. The Nikkor 24-70 AF-S f2.8 f.e. is clearly showing a hot spot and this makes the lens pretty useless for NIR. The Nikkor 14-24 AF-S f.2.8 and the old Nikkor 70-200 AF-S f2.8 VR Mk1 work fine imo. You have to be carefull when the sun is exactly in the middle of the frame since this triggers a string ring flare that covers the full frame – it can be avoided by opening the aperture and/or moving the sun from the center position away (compare with the images below).
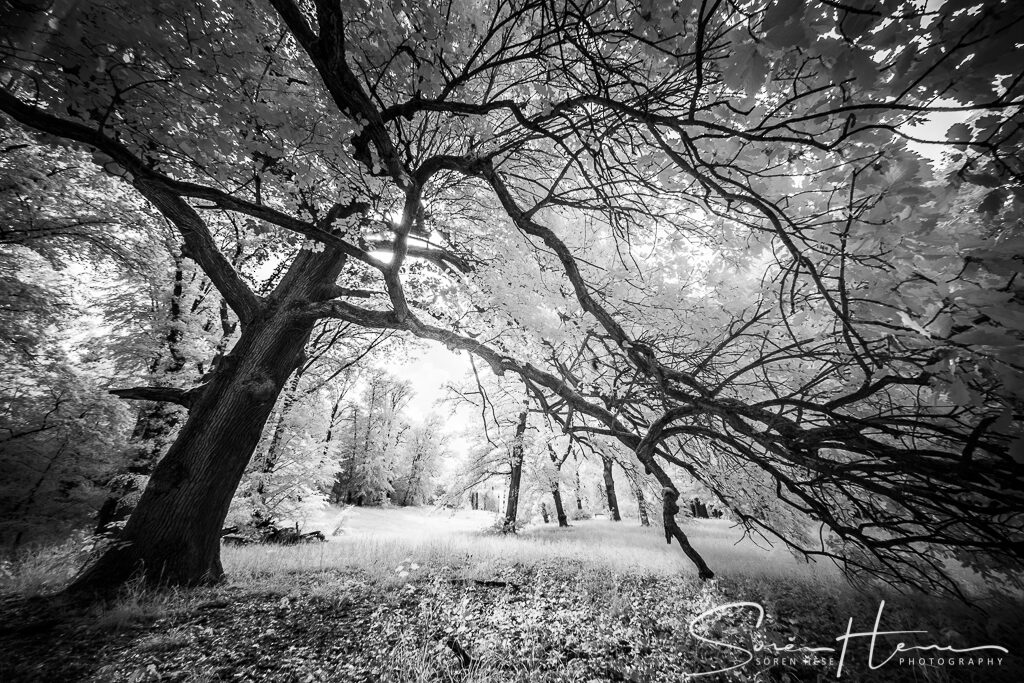
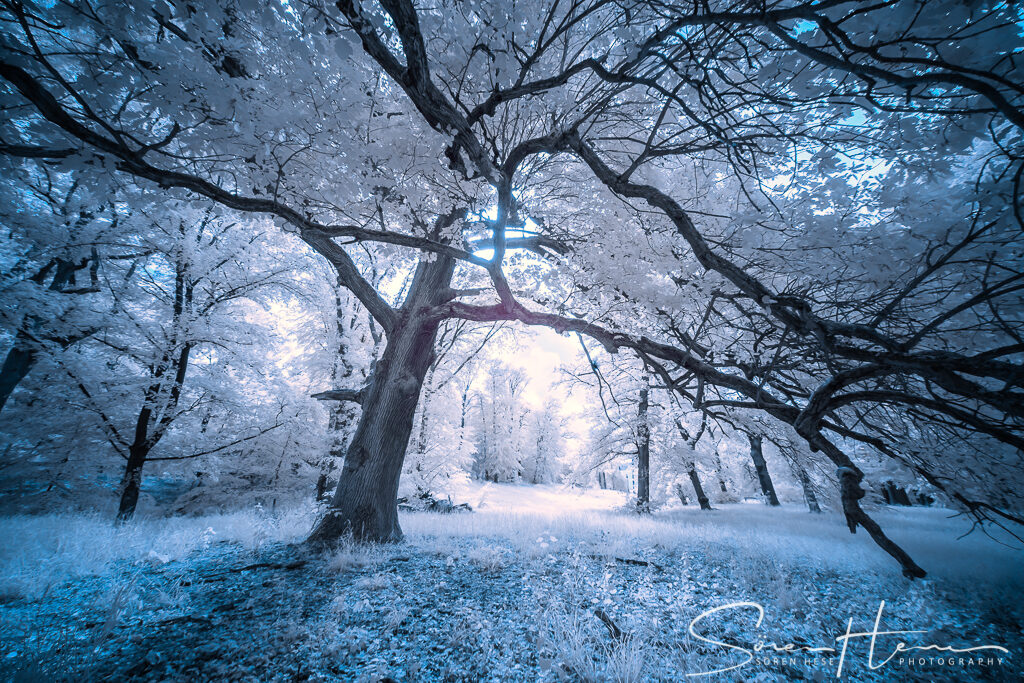
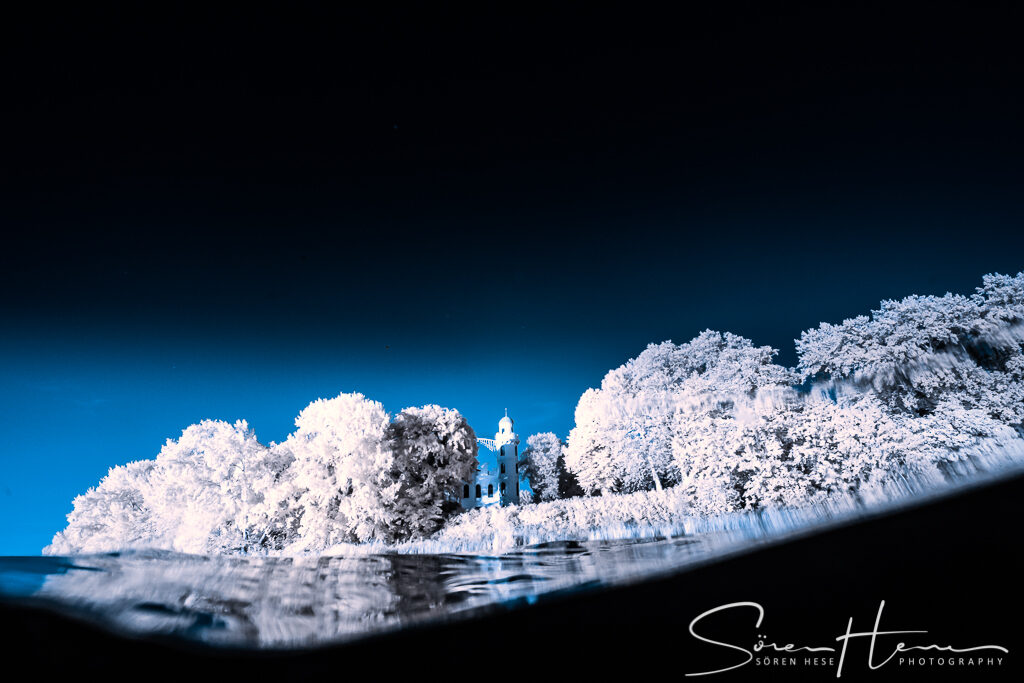
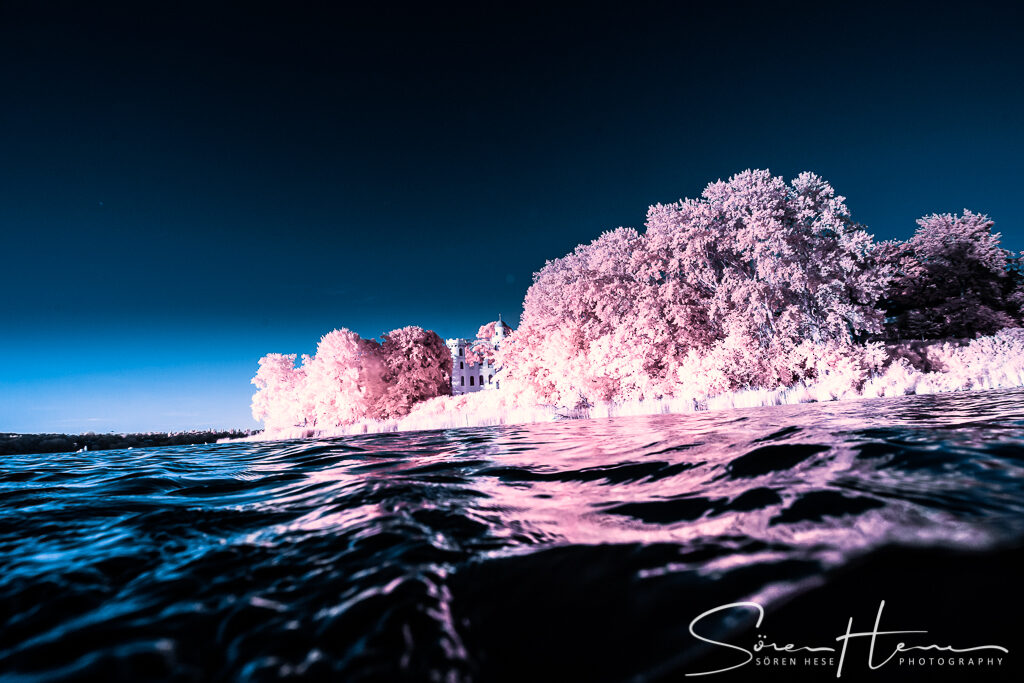
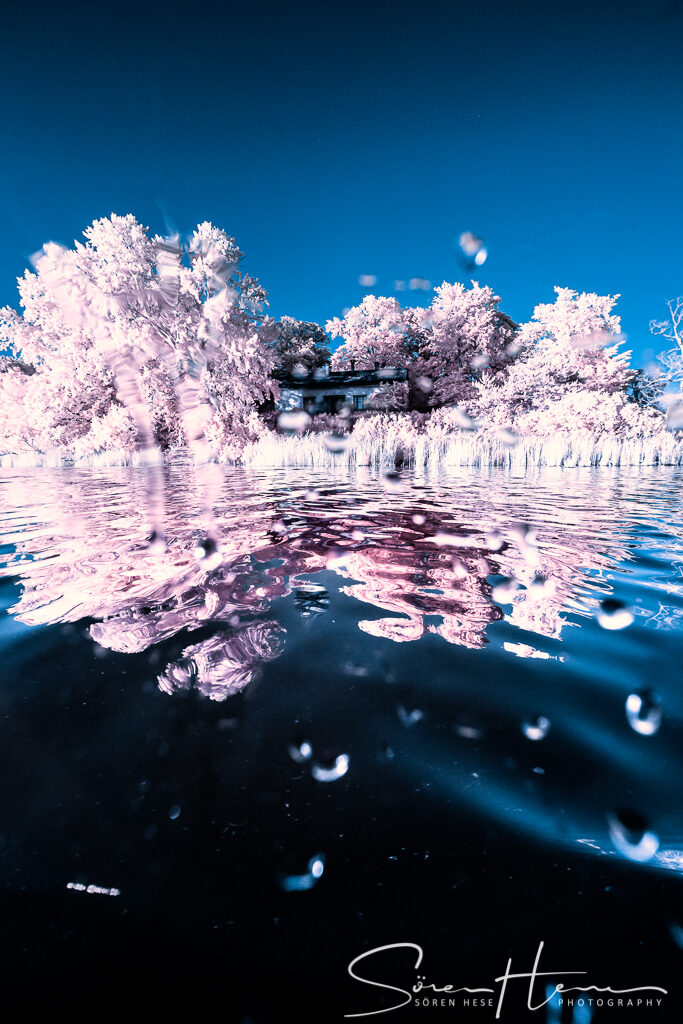
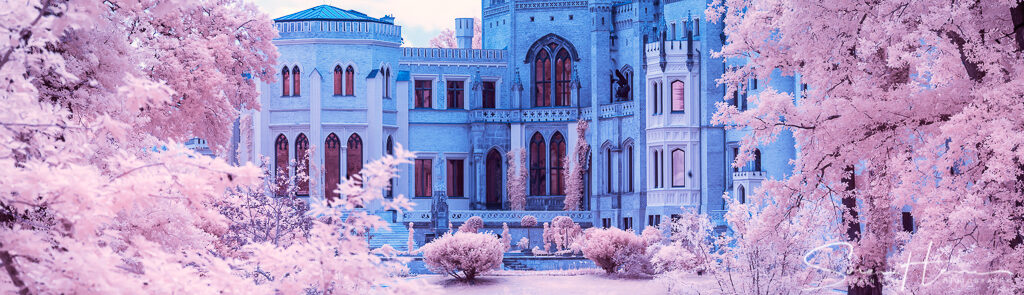
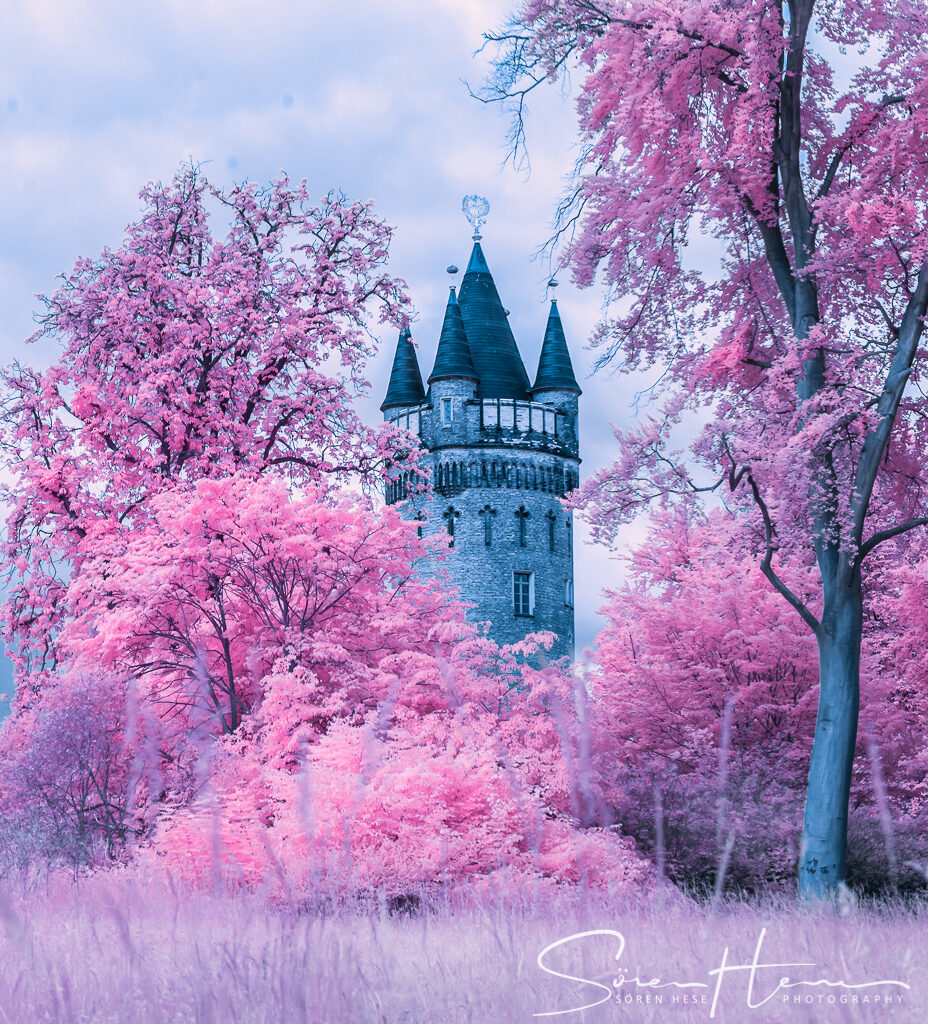
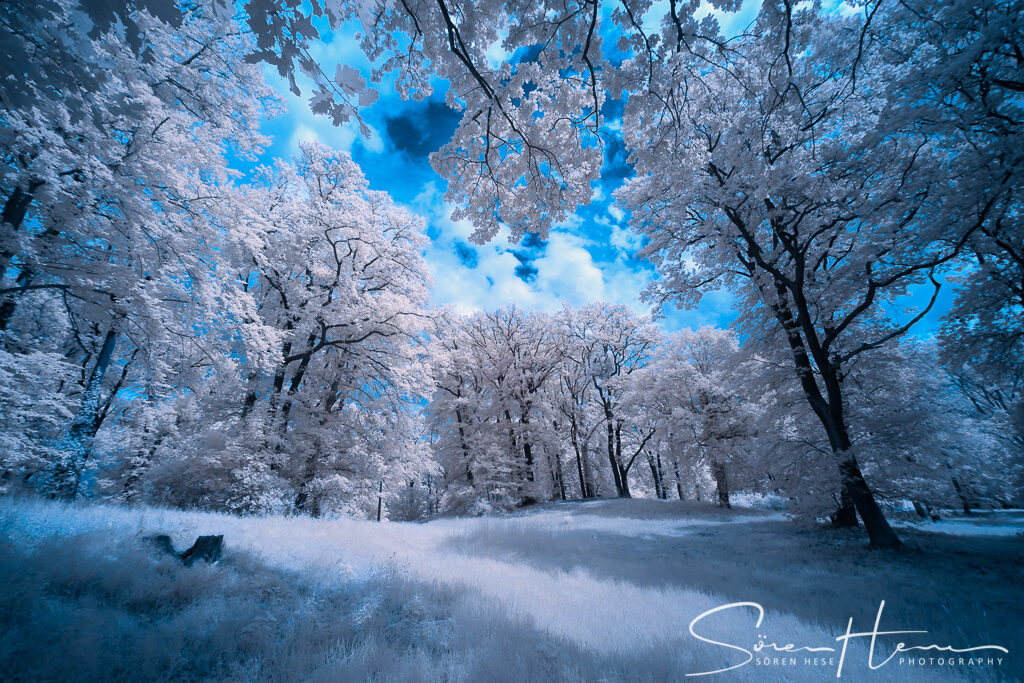
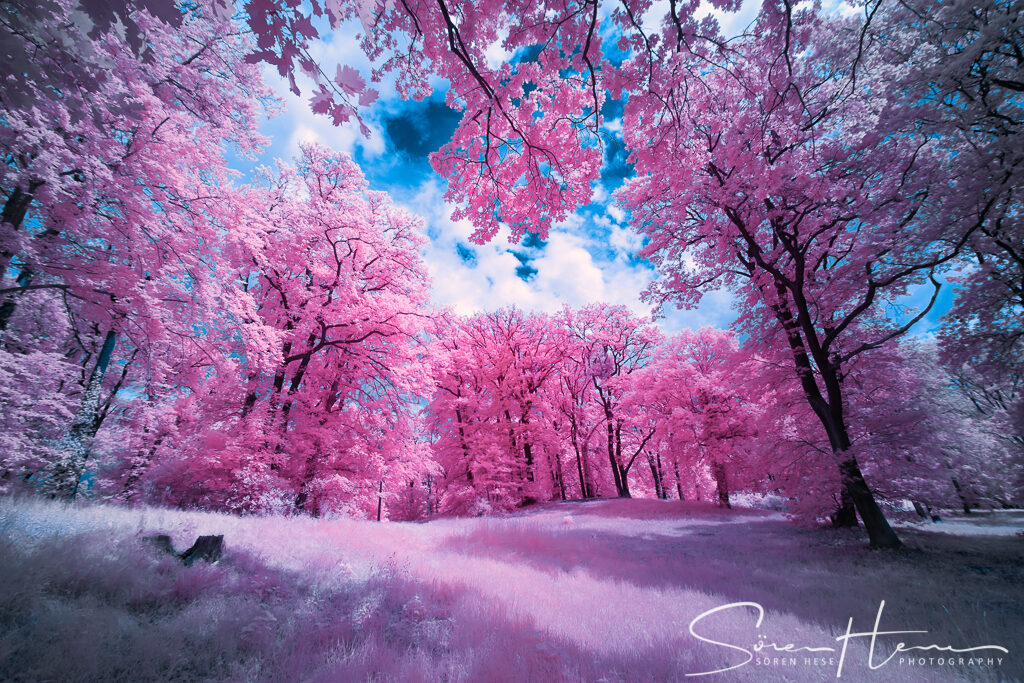
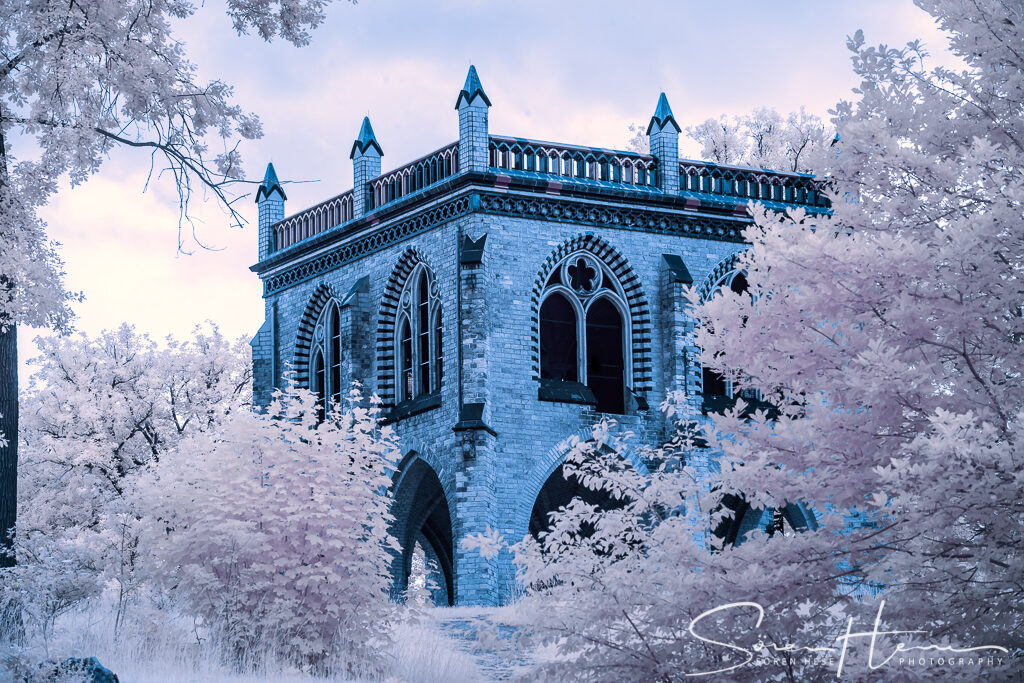

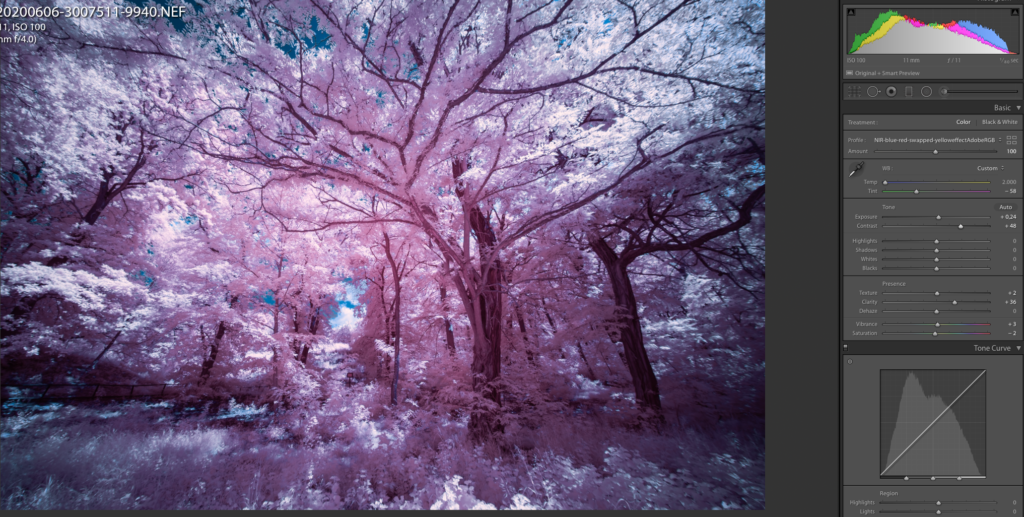
Processing the NIR shots is kind of an advanced lesson in RAW file postprocessing. You basically want to switch the red and the blue channel. This converts the red tinted shot into a blue tinted shot. Tweaking the white balance to greys on non-vegetated surfaces you get a nice slightly blue/pinky RGB composite that is also easily moved to B&W.
This cannot be done with Lightroom directly and to my knowledge its also not possible to do this in C1. The solution was usually to switch the channels first in PS and than to import the file back to LR/C1. – This is not really needed if you use an LUT from Photoshop by importing a RAW to PS, changing the channel mixer adjustment layer for red and blue (move to 100% and 0% for red and blue), export to Color Lookup Table file (File->Export -> Color Lookup Table). This creates a channel swap LUT. Import the LUT in Camera Raw when creating a new Preset (you have to alt click “new profile” ) (tick “Color Lookup Table and load the LUT file from PS). This creates a new Profile with the developed LUT for ACR and its also available for LR than under “user profiles”. Find the full description on how to do this trick on the page of “https://www.keptlight.com”
Now you just need a click in LR on the new preset to apply the channel swap for all your NIR Raws. This is indeed very handy :-)


Shooting in NIR is a technically demanding domain in photography but if you love landscape photography it might be a nice extension of your vision and possibilities. There are always some shots that would work just terrific in NIR and if you are trained enough to see it you will value to have a NIR-converted body in your pack. mtk!