Tilt and shift photography – visual creativity unleashed

Tilt and Shift Photography – Visual Creativity Unleashed

Since winter is the time for some contemplation – and since I thought a lot about these PC/TS lenses: here a short report about my work and ideas with this lens concept.
If you are constantly searching for new ways to visualize – than the Tilt/Shift lenses (or “Perspective Control” – PC – as Nikon names it) should be on your list.
My primary idea using a Tilt/Shift lens was motivated by being able to more dramatically define and decrease the out-of-focus areas in a picture concept. This clearly is a potential application of the tilt function. The main idea of tilting a lens however was to increase depth of field – thats why it is used for macro work (Scheimpflug principle).
For the Nikon based photographer the lens choice boils down to the following lenses:
Nikon 19mm f4 PC-E : perfect for architecture/interiors – the most expensive lens of the four – you likely want to borrow such a lens if you are not making some money with architecture/industrial photography,
Nikon 24mm f3.5 PC-E : good for architecture, not wide enough for interiors (you always can do panos) but great also for nature/landscapes etc.,
Nikon 45mm f2.8 PC-E : very good allrounder, often used by wedding specialists and portrait photogs – a good compromise and the better 50mm lens for most people … but most people dont know that ;) ,
Nikon 85mm f2.8 PC-E : basically this is for table top and macro photography but I also used this one for sports.
Samyang also sells a 24 mm f3.5 TS lens (also sold under the Walimex Pro label). I tested it for a while but found it not so nice to work with. The controls are too small and overall handling of the locking function is either off or on. You can hardly make very precise changes. The against the light behavior also clearly is not so excellent. Positive aspect: you can twist the tilt axis independent from the shift direction. Something only the Nikon 19mm does (and the Canons do). The Samyang is also a surprisingly sharp lens for its price.
From the focal length perspective the 45mm is an allrounder used a lot by wedding photogs, the 85 is specialized in portraits and macro applications, the 24 and the 19 are for architecture and landscapes. I believe the 19 is the better option if price doesnt matter for these application. Usually you have to use a TS/PC wide angle lens to get a perspective corrected (verticals corrected) shot from reduced distances where larger distances would include unwanted objects in your composition foreground (this can partly be overcome with a VR-Boom if done properly or using an UAV platform). Here the 19 mm has the most potential – it also works great using the shift function for clean panoramas.
But using a tilt-converter you can in fact convert every lens to a tilt-capable lens (not shift capable).

More shots are available in my Hyper-Bokeh Gallery here: https://soeren.zenfolio.com/hyperbokeh
While tilting is changing the position and angle of the focal plane relative to the sensor plane in space, the shifting function of a lens can be used a) to generate seamless panorama shots and b) to effectively do perspective correction. This makes tilt/shift lenses the right choice for architecture and interior shootings were you want the verticals to be exactly vertical.
How shooting panos with the shift function is explained nicely here: https://www.cambridgeincolour.com/tutorials/tilt-shift-lenses1.htm. You basically fix the exposure and shift left and right to do this. Shifting in all directions, turning the lens and shifting again will cover the full imaging circle that the lens is capable of and it will generate a huge picture mosaic without much distortion. Critical is to start from a fully leveled position of the camera. Thats why you need a tripod to do this and a water level bubble.
So far in my testing the 19mm f4 PC-E Nikkor lens seems to be the lonely sharpness and performance Queen in the 20mm region. Its kind of the gold standard of the tilt shift lenses for DSLRs. It has less vignetting than all the others lenses (17mm from Canon included), its sharper in the corners than the 17mm Canon version and handling is much better. The controls are easy to use, the shift control wont move since it uses a perfectly smooth dampened twist control. The lens is made to be used in a very precise handling situation mounted on a big 5-series (Gitzo Series) tripod. Drawback is an unprotected front lens element. You easily damage this lens if you are not very careful (but see below for a solution). The other issue with this lens is the price. For the cost of the 19mm you could buy a Canon 5D and the 17mm TS lens from Canon … .
The 24mm PC-E lens options from Nikon and the Samyang version do not have such a good reputation. The Nikon 24mm seems to be not so sharp at the edges, but if you need a 24 than that is likely the way to go. I would however prefer the 19mm. It renders much sharper and you can twist the tilt axis against the shift axis and that is sometimes needed. The 24mm cannot do that but the 19mm costs twice as much.
The Nikkor PC 85mm f/3.5D ED N is a different story imo. Its clearly very sharp and works great as a macro lens (1:2 ratio only).
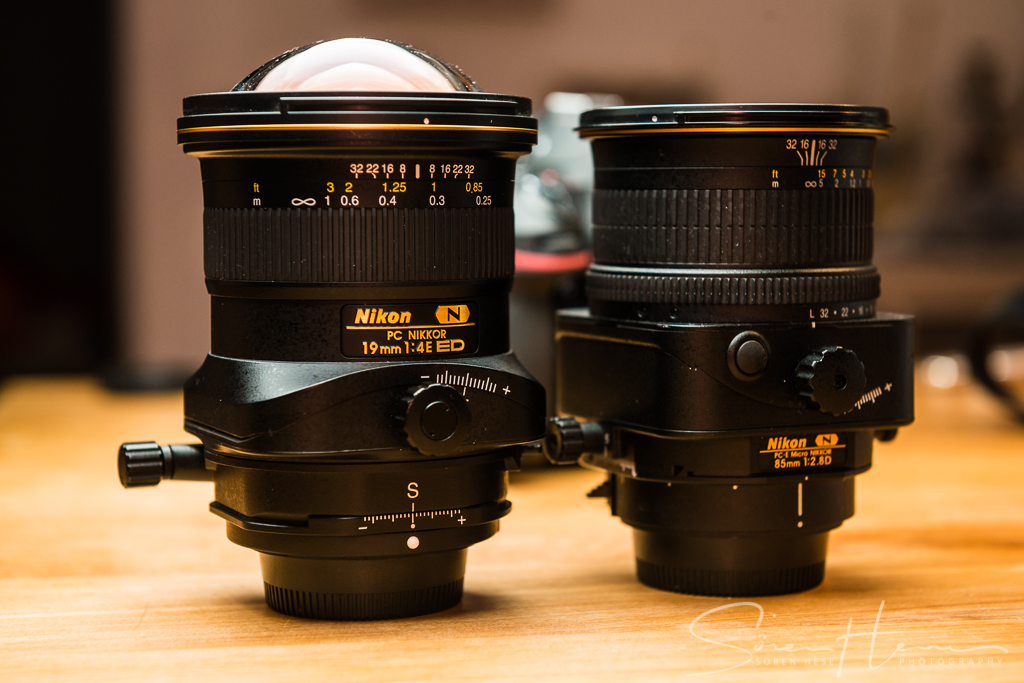
Fig.: The Nikkor PC 19mm f/4E ED N and the PC 85mm f2.8E N
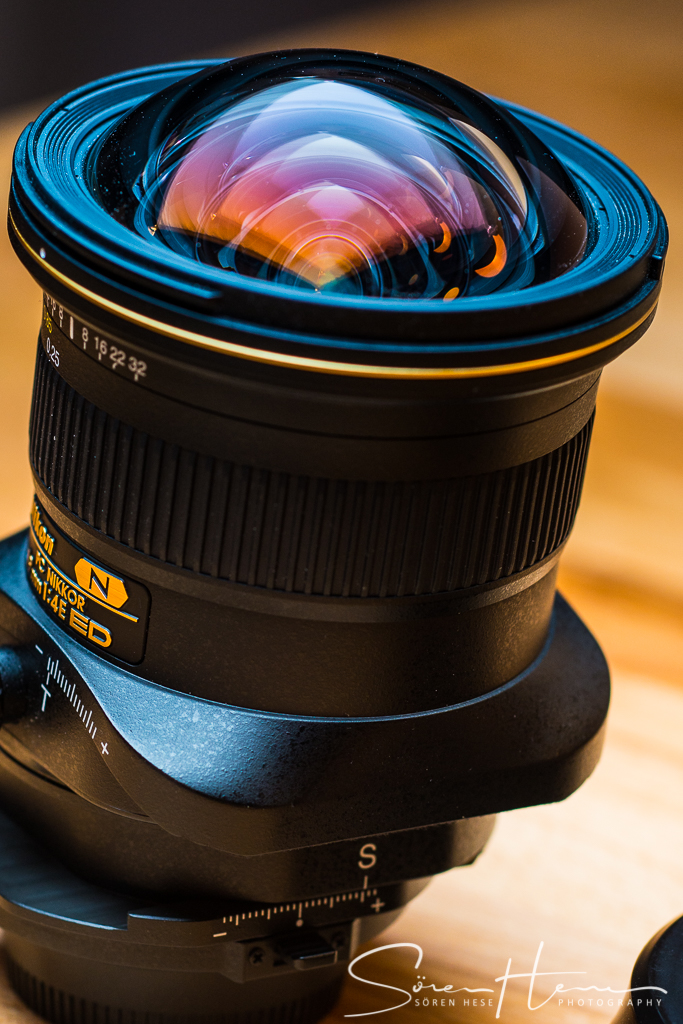
Fig. Unprotected front element of the 19mm f4 PC-E. Someone at www.nikongear.net however showed a custom made version of a lens hood made from an HB-19 lens hood: http://nikongear.net/revival/index.php/topic,4597.msg130040.html#msg130040 . This part of the lens talk discussion at nikongear.net: http://nikongear.net/revival/index.php/topic,4597.0.html on page 19.
The full potential of tilting for unsharp bokeh rendering is only unleashed when you combine a f1.4 or even a f1.2 lens with a tilt converter. This is best done by combining an APS-C kind of camera with a full frame lens (FX). This allows tilting the lens and using the full frame size of the lens projection and projecting the image onto an DX sized sensor. To get this working you basically need a converter that uses a lens with a bigger imaging circle than the used sensor size. And you need a lens/body combination that leaves some space because the mechanical tilting construction needs to be placed between lens and camera mount. Best lenses imo are the Nikkor 50mm f1.2 AIS and the ART Sigmas f.e. the 20mm f1.4DG works nicely but the Nikkor 28mm f2 AIS and the Nikkor 20mm f2.8 AIS also work to some degree. Bokeh quality is important and sharpness isnt too much needed with these abstract graphical definitions.

Fig.: Stacked tilt converter based image composite using a Sony A6000 and tilt converter in combination with a Nikon 50mm f1.2.

Fig.: Leipzig Main Train Station: a panorama shot using a tilted 28mm f2.0 and 4 shots put together.

Fig.: Leipzig Main Train Station: a tilted panorama using the Sigma f1.4 20mm Art series lens.
Most affordable lens tilting solution is a home-made tilt-adapter. If you prefer a more sturdy alternative the lens baby Tilt-Converter is a good solution and works with different mount types (only on the second hand market avail right now).
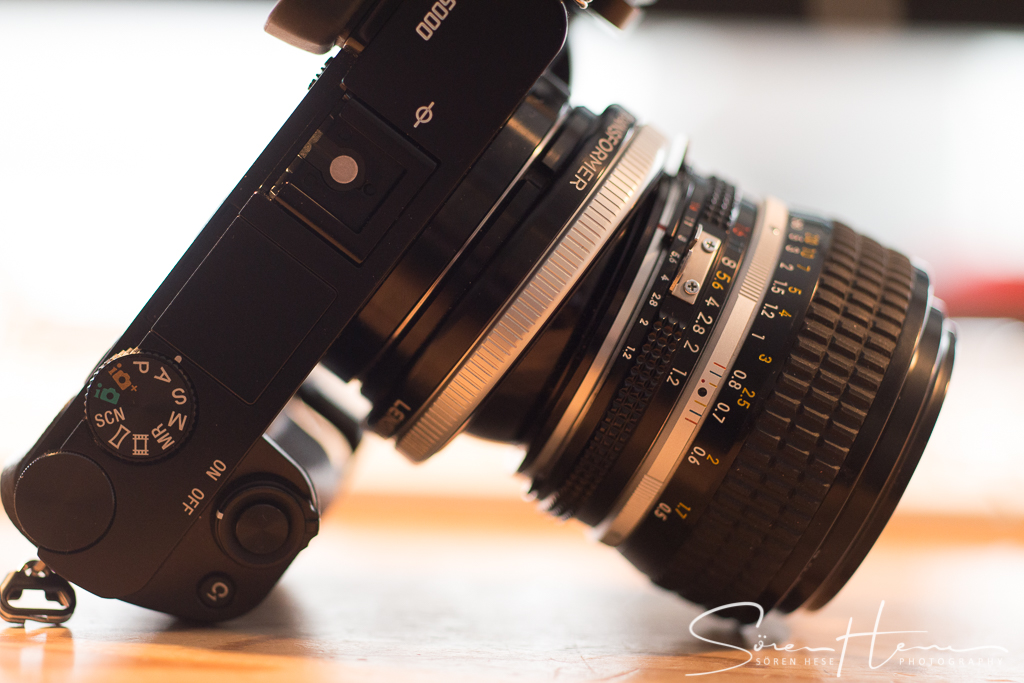
Fig.: Special tilt – lens concepts using the tilt converter for Nikon lenses on a Sony A6000.
With sports photography you always want to isolate action as much as possible in front of an unsharp background. You usually do this using a f2.8 tele lens, short exposure times and precisely calibrated AF. With a tilt lens you can move the focal plane away from the sensor plane and tilt it into space. You control the position using 1. focusing and 2. the tilt angle – its also the reason why AF makes no sense at all with tilt lenses. There is no plane for the sensor to focus on. You modify this plane constantly when you work with such a lens.
This is nicely explained here: https://www.cambridgeincolour.com/tutorials/tilt-shift-lenses2.htm
Since the area of focus is a narrow 3D corridor in space that always starts offset from your position and then moves into the imaging field of view – its difficult to find the correct setting and focus orientation to do good balanced compositions. The potential lies in directing attention to specific areas of an image. TC/PC-lenses give much more freedom since the area that is in focus can be manipulated in ways that are impossible with a focal plane that is parallel to the sensor.
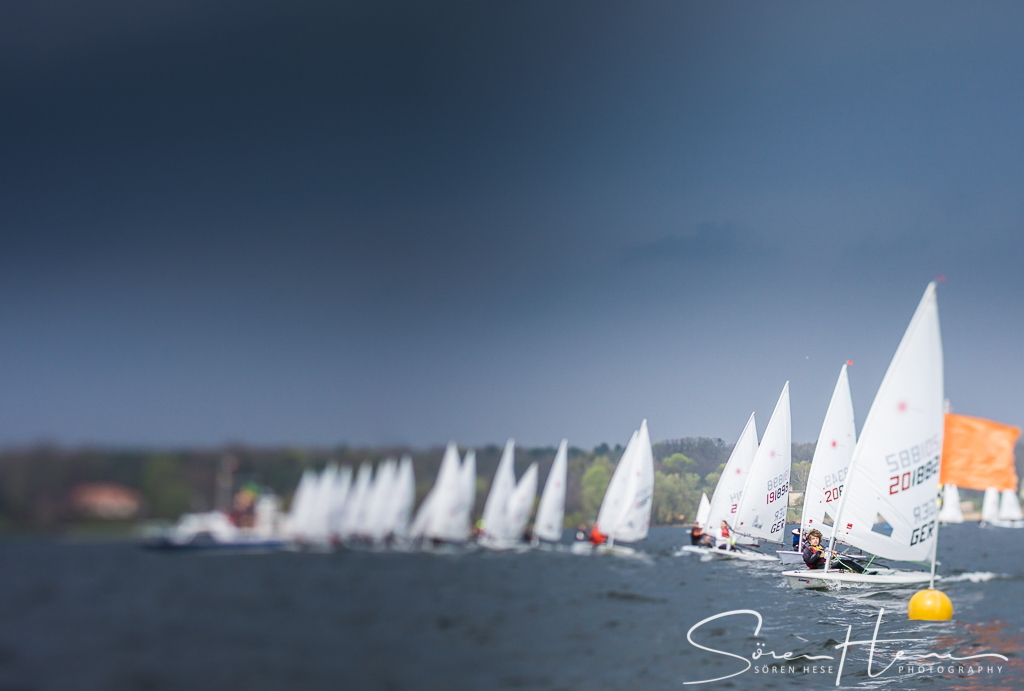
Fig.: Here a shot from a start sequence – this one shows it nicely and is a product from a series of shots where only one or two of 15 shots nailed it. Getting the focus zone right is difficult.


Fig.: Some shots from the Dragon Regatta Race in 2018 (Wannseewoche) showing a start sequence where the area in focus is a narrow channel that moves diagonal through the FoV. These concepts are difficult to realize because usually not all boats reach the starting line at the same time.
Some other examples using the tilt effect to create a toy/miniature impression. You usually want a high position to create these effects – so look for a bridge or a high building floor to create these kind of shots:

Toskana/Italy – Montepulciano
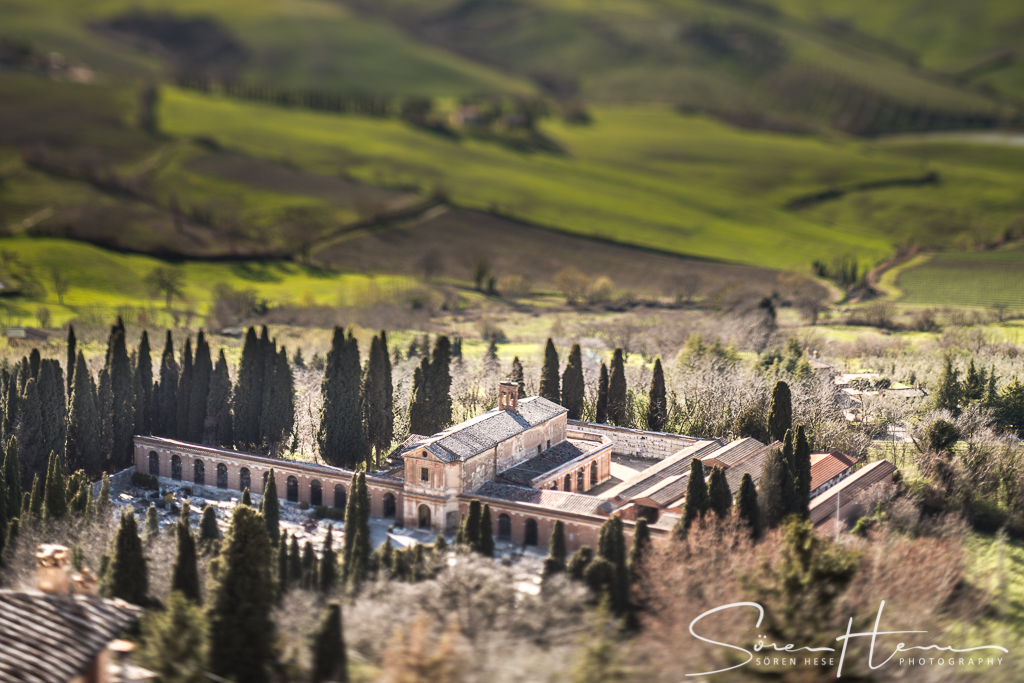
Toskana/Italy – Montepulciano
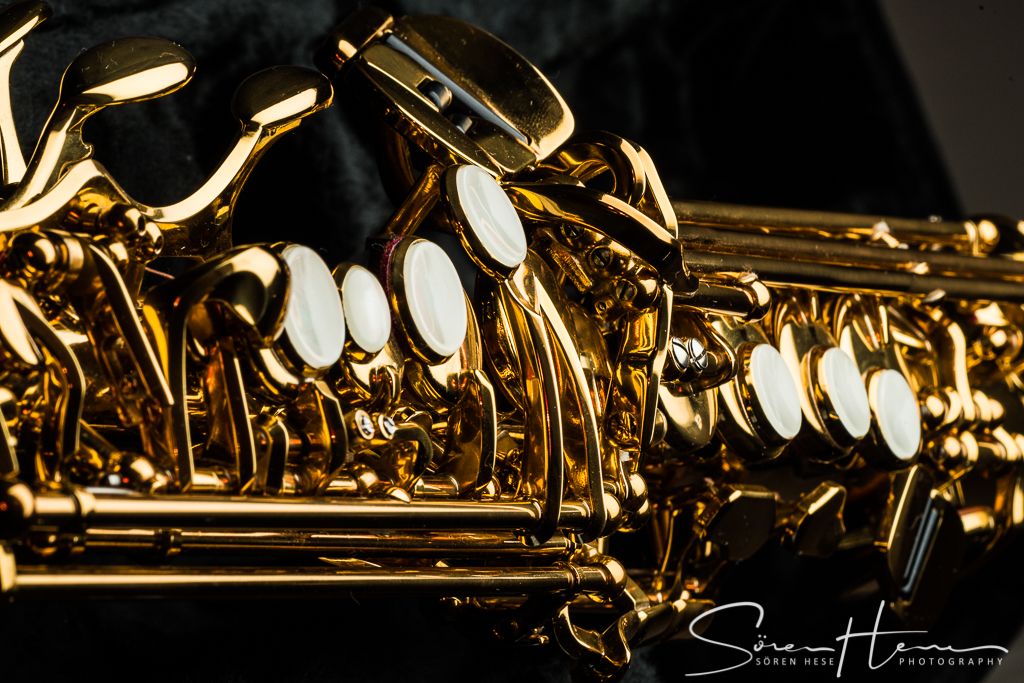
The Nikkor 85mm f2.8 PC-E is also a great macro lens. Its used mostly to increase depth of field in macro work but also works nicely in non-tilted mode:
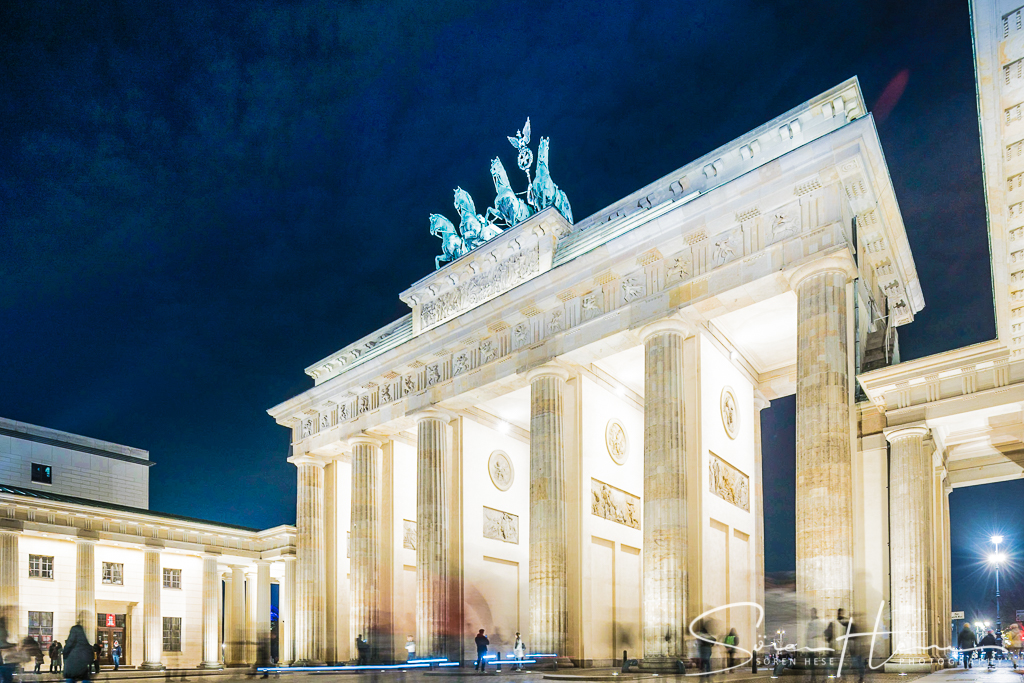
Overall the creative potential of tilt/shift lenses is imo underrated. Especially lenses that have a full twistable tilt vers shift axis are great in urban regions. So far that is the reason why I didnt buy the Nikkor 24mm PC-E. This lens has to be converted to change the tilt vers shift axis – something that is not very handy (cannot be done quickly) in the field.

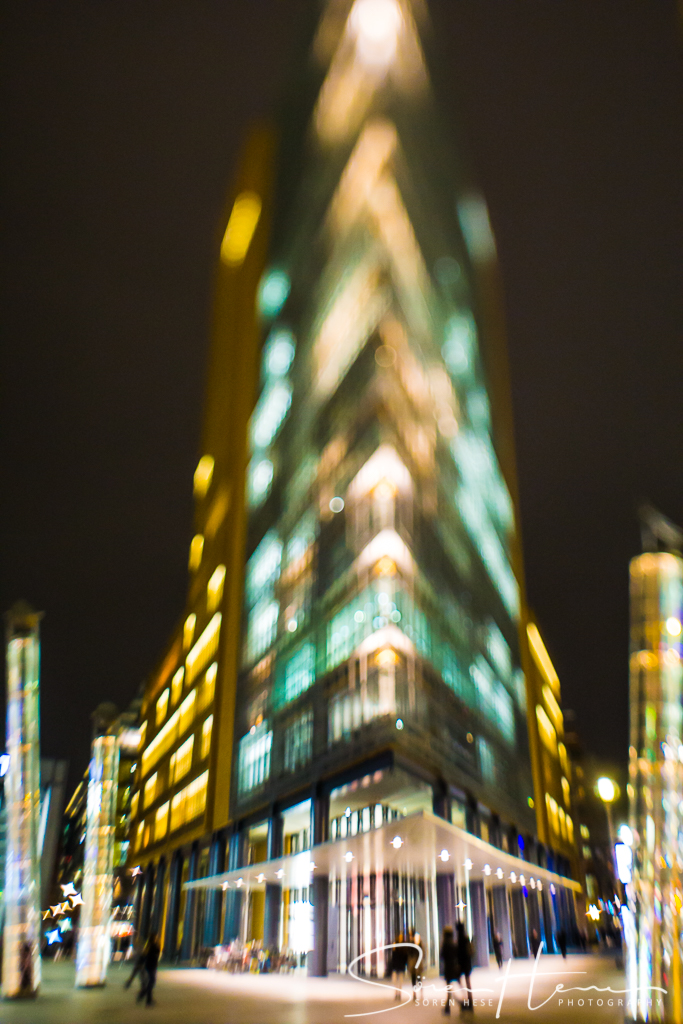
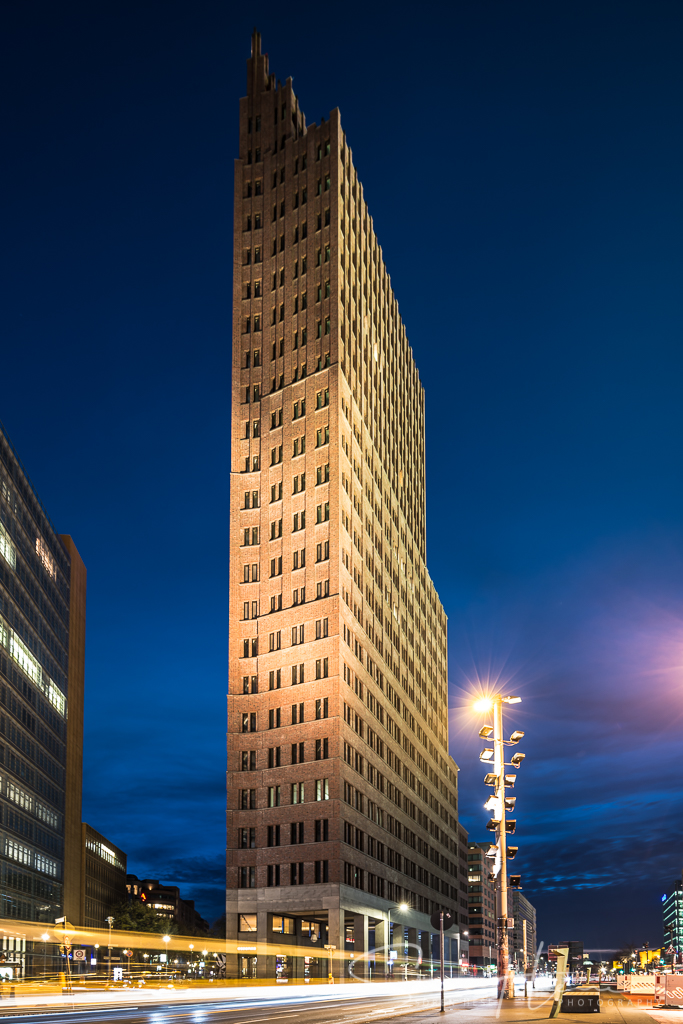
Fig.: Tilt and Shift applied in the same direction (perspective correction & blurring the top of the building). Potsdamer Platz/ Berlin.

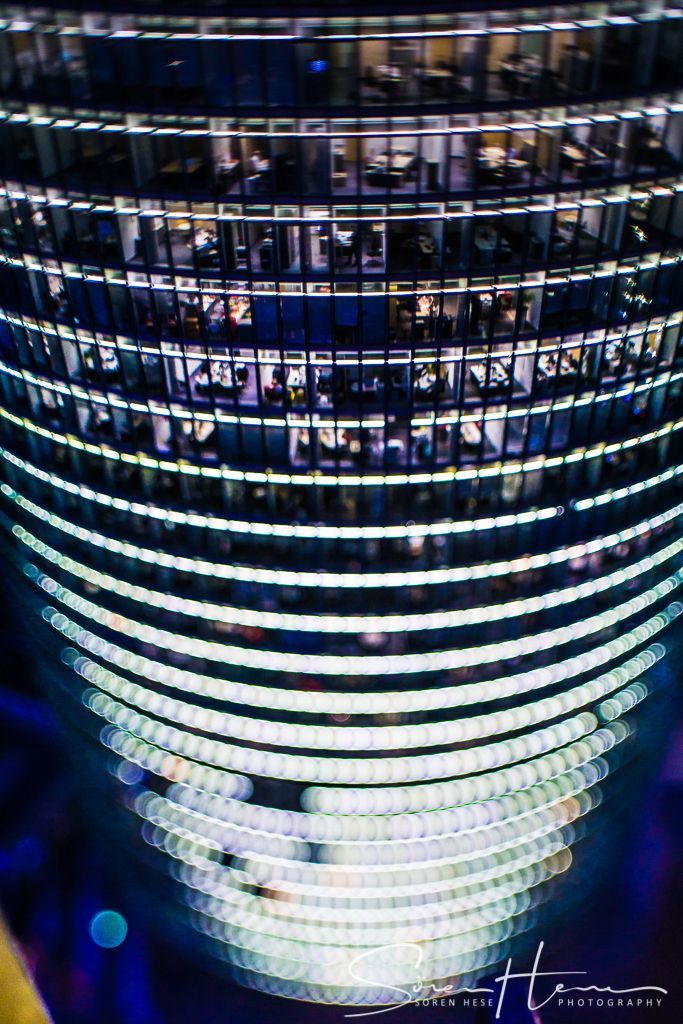
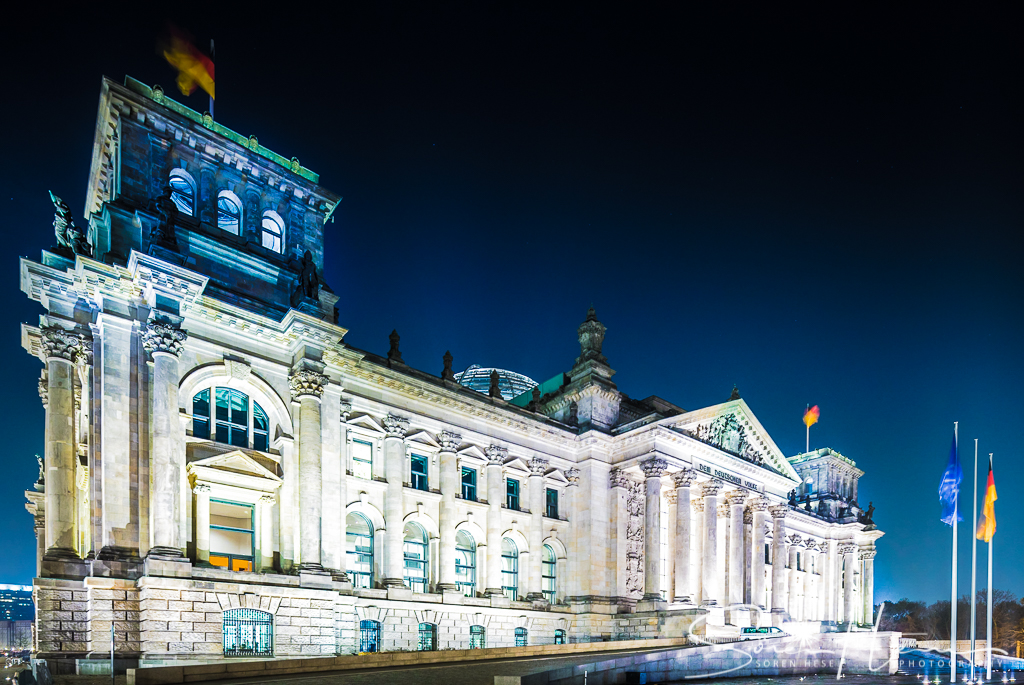
Fig.: Tilting the lens sideways is a way to create a sharp corridor that works vertical. This can improve shot concepts that have a lot of perspective depth and where foreground is supposed to be blurred.

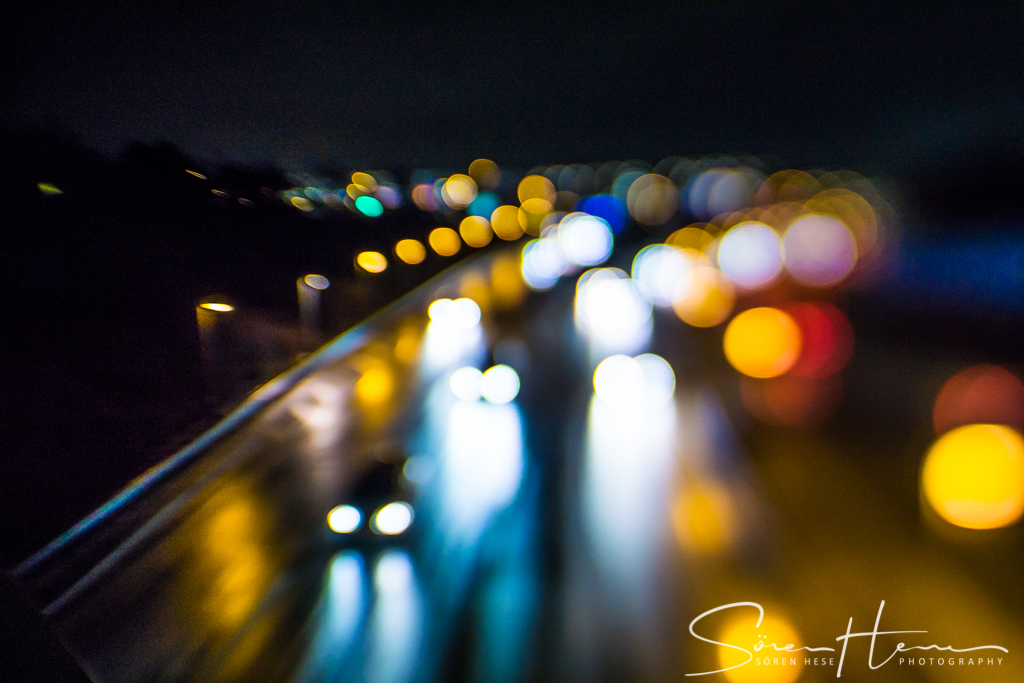
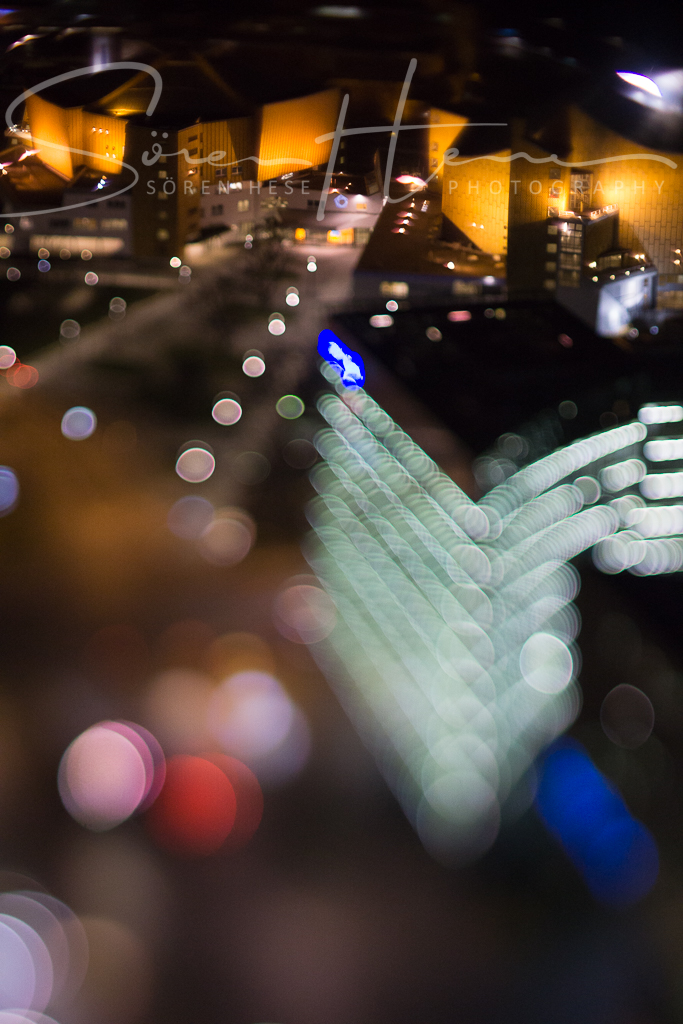
Fig.: Having some point light sources above is potentially graphical interesting for strong tilt angles with very extreme lens f-stops. Here the combination of f1.4 or f1.2 with tilting creates an bokeh heaven that easily can be used to do some graphical artistic layouts.


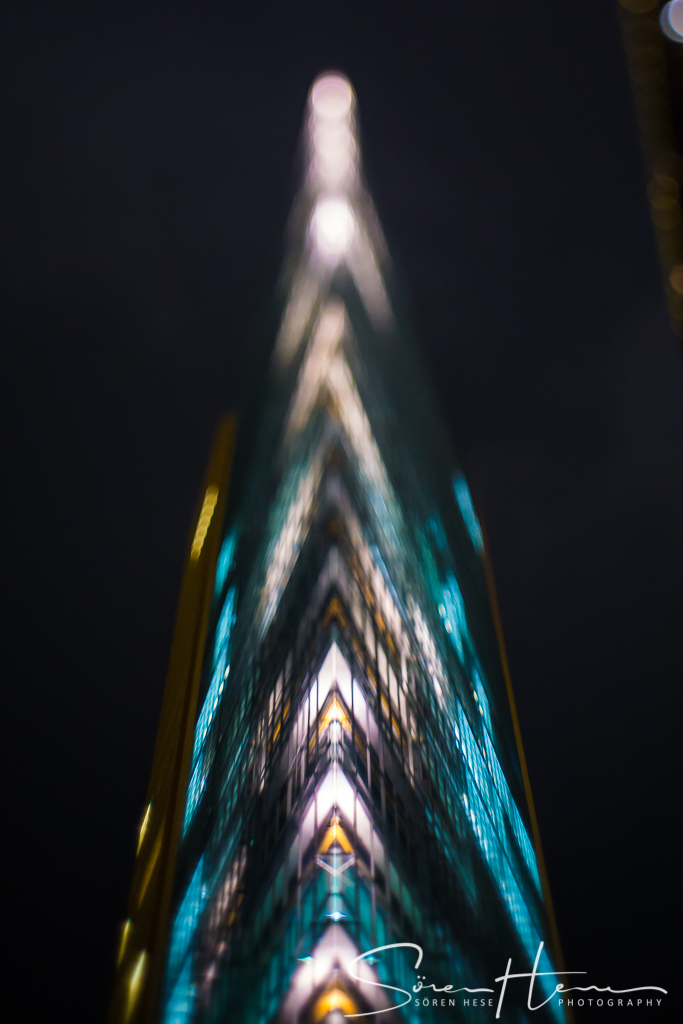
Fig.: Overlay of some shots with different f-stop and tilt-angle using a Nikkor 85mm f2.8 PC-E.